

Why Does My Mini Keg Need Headspace? Understanding Fill Levels for Better Drafting
What Is Headspace in a Mini Keg?
When filling a mini keg, it can be tempting to fill it as much as possible.
After all, if a keg holds a certain amount, why not use every available ounce?
The answer is headspace.
Headspace is the small area between the surface of your beverage and the top of the keg. It contains gas rather than liquid.
This space may seem unimportant, but it plays a useful role in a pressurized beverage system.
Whether you are serving beer, sparkling drinks, cold brew, or another compatible beverage, understanding headspace can help you get more consistent results from your mini keg.
Why Does a Mini Keg Need Headspace?
A pressurized keg needs some room above the liquid.
When gas is introduced into the keg, it occupies the headspace first and then interacts with the beverage.
If a mini keg is filled completely to the top, there is very little room for gas. This can make pressure management more difficult and can increase the chance of liquid entering components that are intended for gas.
A reasonable fill level also makes the keg easier to transport and handle.
The exact recommended fill level depends on the design and instructions for your particular keg, so always follow the manufacturer's filling guidance rather than relying on one universal percentage.
Does More Liquid Mean Better Value?
Not necessarily.
Using more of the available capacity may seem economical, but filling a mini keg beyond its recommended level can create problems.
You need enough room for the keg's internal components and for safe pressure management.
Think about a keg as a complete system rather than simply a container.
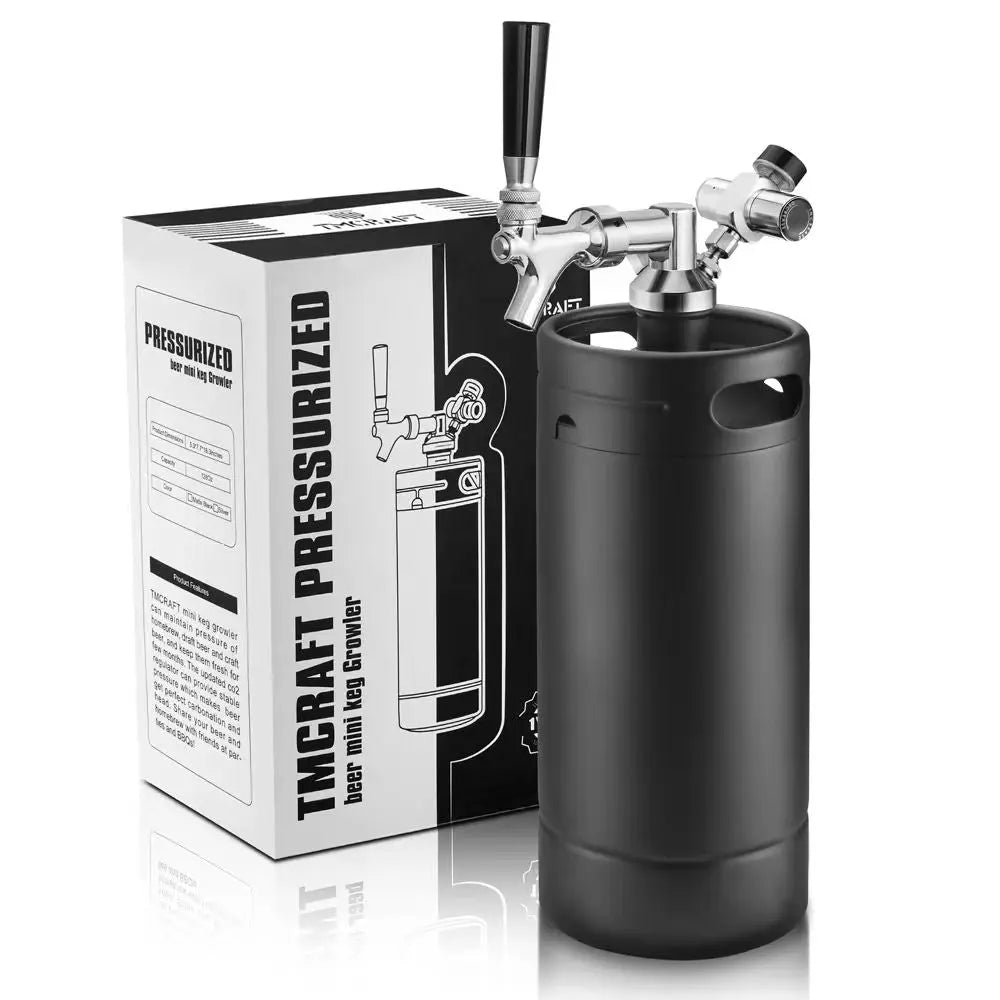
The keg body, lid, dip tube, gas connection, beverage connection, regulator, and faucet all work together.
That means the best mini keg fill level is not necessarily the maximum physical capacity of the container.
Headspace and Carbonation
Headspace can also matter when carbonating a beverage.
For carbonated drinks, CO₂ needs to interact with the liquid. Temperature, pressure, beverage characteristics, and the amount of gas already dissolved in the liquid all affect carbonation.
Cold liquid generally holds CO₂ more readily than warmer liquid, which is one reason carbonation is commonly performed with the beverage chilled.
However, headspace is only one part of the process.
If you are using your mini keg carbonation system, always follow the manufacturer's pressure rating and use the appropriate regulator and carbonation guidance for your beverage.
Never exceed the rated pressure of the keg or its components.
What Happens If You Overfill?
An overfilled mini keg can cause several practical problems.
First, there may not be enough headspace for normal gas operation.
Second, liquid can potentially reach the gas-side components if the keg is moved, tilted, or pressurized incorrectly.
Third, an overfilled keg leaves less room for pressure management.
These issues become particularly important when transporting a filled keg to a party, picnic, camping trip, or outdoor gathering.
Before filling, check the manufacturer's recommended maximum liquid level.
What Happens If You Leave Too Much Empty Space?
Too much empty space is not automatically dangerous, but it can reduce the amount of beverage you can carry.
For example, if your mini keg is designed for a certain beverage capacity, leaving a very large amount of unused space simply means you are carrying less drink.
The goal is not to eliminate headspace.
The goal is to use an appropriate amount of headspace while staying within the manufacturer's filling and pressure instructions.
A Simple Filling Checklist
Before filling your mini keg, check these points:
1. Clean the keg.
Make sure the keg and beverage-contact components are properly cleaned.
2. Sanitize when appropriate.
For beverages where sanitation is required, follow your sanitizer's instructions.
3. Check the fill limit.
Do not assume the advertised capacity means you should fill the keg completely to the top.
4. Leave appropriate headspace.
Follow the manufacturer's recommended fill level.
5. Check the connections.
Make sure the lid, fittings, gas connection, and beverage connection are correctly installed.
6. Check pressure ratings.
Use only pressure levels appropriate for your specific keg and dispensing equipment.
Northern Brewer similarly emphasizes cleaning, sanitizing, leak testing, correct gas/liquid connections, and pressure management as fundamental parts of kegging.
Why Stainless Steel Is a Popular Keg Material
Many beverage systems use a stainless steel keg because stainless steel provides a durable, reusable container for beverage storage and dispensing.
A stainless steel keg can also be repeatedly cleaned when appropriate cleaning procedures are followed.
The material alone, however, does not make a keg maintenance-free. Seals, fittings, dip tubes, faucets, and beverage lines still need attention.
Final Thoughts
Headspace is easy to overlook because it is the part of the keg that does not contain your beverage.
But a properly filled mini keg is more than a container full of liquid. It is a complete pressure and dispensing system.
Leave the appropriate amount of headspace, stay within the manufacturer's fill and pressure specifications, and pay attention to cleaning and connections.
These simple habits can make your mini keg easier to carbonate, transport, and serve while helping you get more consistent results from your draft beverage setup.
Link to: Can You Carbonate Drinks in a Mini Keg? A Beginner’s Guide to Pressure and Carbonation