
The Homebrewer’s Guide to Ball Lock Kegs: Setup, Use, and Maintenance
SEO Keywords: Ball Lock Keg, Homebrewing Equipment, Keg Setup, CO2 System, TMCRAFT Ball Lock Kegs
For homebrewers looking to elevate their setup, mastering the ball lock keg system is a game-changer. It’s not only more efficient than bottling but also gives you better control over carbonation, storage, and serving. Whether you're just switching from bottles or upgrading your kegging gear, this guide will walk you through everything you need to know about ball lock kegs—from setup to maintenance.
What is a Ball Lock Keg?
A ball lock keg is a stainless steel, pressurized container originally used for soda, now widely adopted in the homebrewing community for storing and dispensing beer. Named after its “ball lock” connectors for gas (in) and liquid (out), this keg type has become the standard for many homebrewers and commercial setups.
Why Choose Ball Lock Kegs?
✅ Easy to clean and maintain
✅ Airtight seal for long-lasting freshness
✅ Compatible with most homebrew CO₂ systems
✅ Stackable and compact for storage
✅ Durable stainless steel design
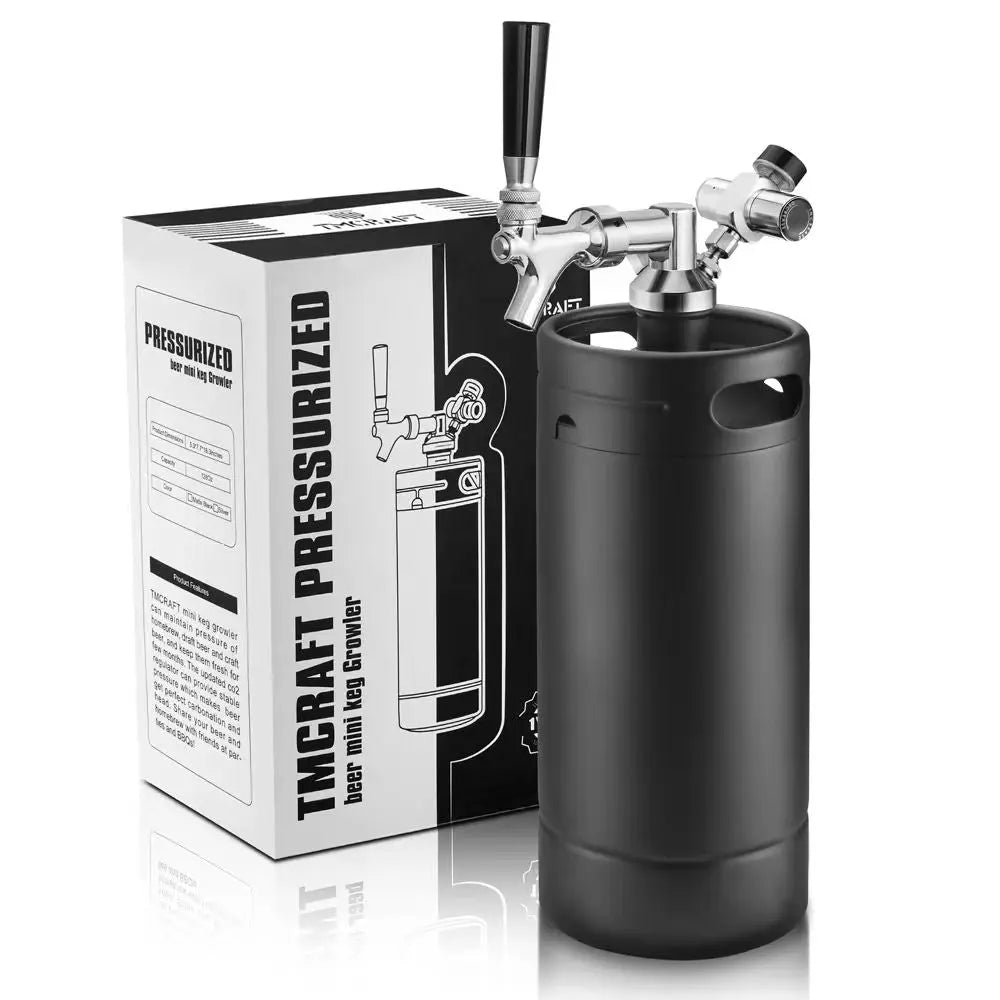
TMCRAFT Ball Lock Kegs stand out for their precision engineering and long-term reliability, making them a top choice among brewers of all experience levels.
Ball Lock Keg Setup: Step-by-Step
Setting up your ball lock keg system may seem intimidating at first, but it’s surprisingly simple with the right gear.
What You’ll Need:
-
A clean, sanitized TMCRAFT Ball Lock Keg
-
CO₂ tank with a dual-gauge regulator
-
Ball lock connectors (gas and liquid)
-
Beverage lines and taps
-
Keg lube (optional, for O-rings)
Step 1: Clean and Sanitize
Before anything touches your beer, clean and sanitize your keg and all lines thoroughly to avoid off-flavors or contamination.
Step 2: Connect the CO₂ System
Attach the gas line to the gas-in post (usually marked or has a notched collar) and connect the CO₂ regulator to the tank. Slowly increase pressure to purge oxygen from the keg.
Step 3: Fill Your Keg
Transfer your beer into the keg via siphon or gravity. Fill to about 90% capacity to allow room for pressurization.
Step 4: Seal and Pressurize
Lock down the keg lid and apply CO₂ pressure—usually around 10–12 PSI for typical ales. You can force carbonate or let it sit at serving pressure for a few days.
Step 5: Pour and Enjoy
Once carbonated, attach your tap to the liquid-out post, chill the keg, and enjoy fresh beer straight from the tap!
Maintenance Tips for Long-Lasting Performance
Maintaining your ball lock keg system keeps your beer tasting great and your gear running smoothly.
Weekly/Monthly:
-
Clean all lines with a brewing-safe cleaner
-
Check O-rings and posts for wear
-
Sanitize the keg before each use
After Each Batch:
-
Fully disassemble the keg
-
Soak and scrub the interior and all components
-
Lubricate O-rings if needed before reassembling
TMCRAFT Ball Lock Kegs are designed with easy access parts and robust seals to make cleaning hassle-free and efficient.
Why TMCRAFT Ball Lock Kegs Are Worth It
When you’re serious about beer, you need equipment that delivers on performance and reliability. TMCRAFT Ball Lock Kegs offer:
-
🧊 Food-grade stainless steel for flavor preservation
-
💨 Pressure-rated builds for perfect carbonation control
-
🔧 High-quality components for secure kegging and easy maintenance
-
🧼 Quick-disconnect posts for simple cleaning and setup
Whether you’re brewing IPAs, stouts, or even soda, TMCRAFT's ball lock kegs are a smart investment for your homebrewing arsenal.
Final Thoughts
Upgrading your homebrew setup with a ball lock keg system opens the door to better flavor, longer shelf life, and professional-grade pours at home. With proper setup and maintenance, you’ll never want to go back to bottling again.
Ready to take the leap? Explore our full range of TMCRAFT Ball Lock Kegs and build your dream homebrewing system today.