How to Upgrade Your Homebrewing Game with a Ball Lock Keg System
 Are you tired of bottling your homebrew? The long wait, inconsistent carbonation, and tedious cleaning process can be frustrating. If you want a faster, easier, and more reliable way to store and serve your beer, upgrading to a ball lock keg system is the best solution!
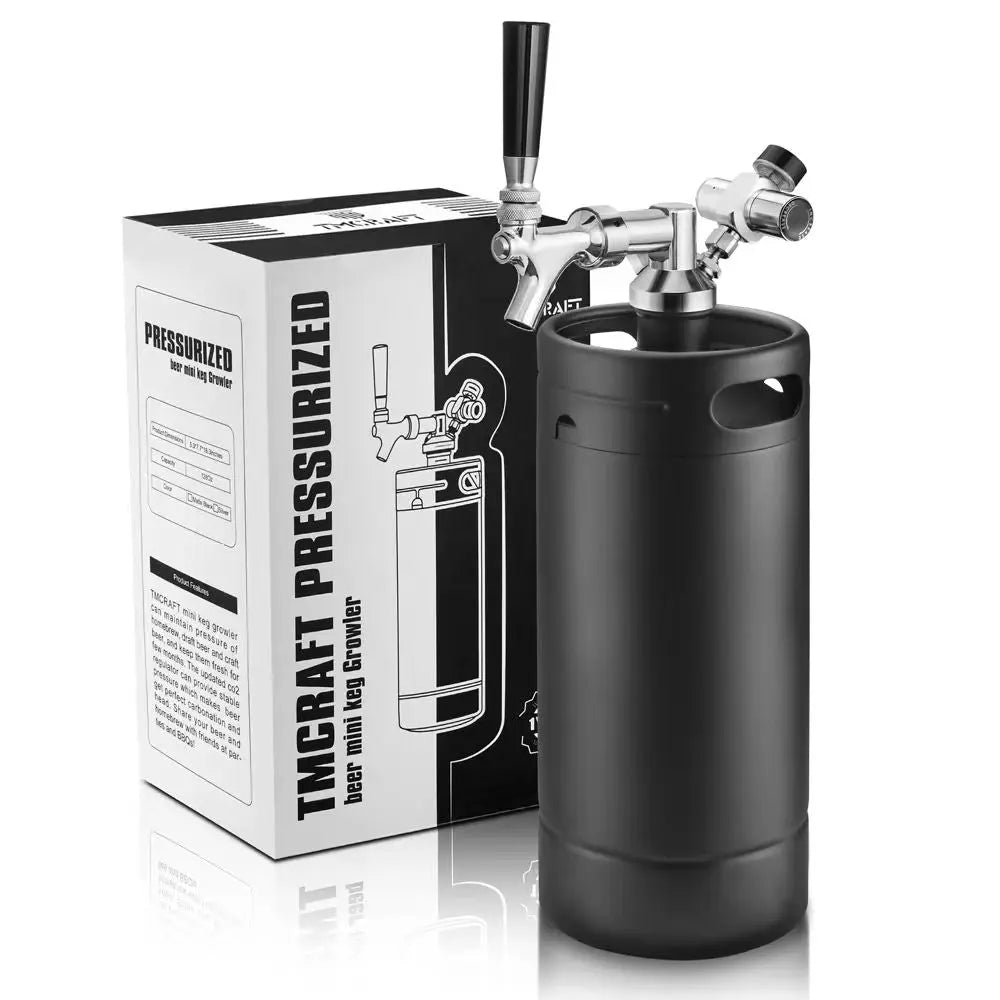
A ball lock keg offers precise carbonation control, keeps beer fresher for longer, and allows you to serve it on tap—just like a professional brewery. In this guide, we’ll walk you through the essentials of beer kegging, the benefits of a CO2 system, and why TMCRAFT Ball Lock Kegs are a must-have for serious homebrewers.
Why Upgrade to a Ball Lock Keg System?
✔️ Faster Carbonation – No need to wait weeks for bottle conditioning—force carbonate in just a few days.
✔️ Fresher Beer – Kegging reduces oxygen exposure, preventing oxidation and off-flavors.
✔️ Easy to Clean & Reuse – Say goodbye to scrubbing dozens of bottles—just one keg to maintain.
✔️ Precise Control – Adjust carbonation and serving pressure for perfect pours every time.
✔️ On-Tap Convenience – Enjoy draft beer at home without the mess of bottling.
Essential Equipment for a Ball Lock Keg System
To start kegging, you’ll need the following homebrewing equipment:
-
Ball Lock Keg – Available in 5L, 10L, and 19L sizes. TMCRAFT Ball Lock Kegs are made from high-grade stainless steel, ensuring durability and freshness.
-
CO2 Tank & Regulator – Essential for force carbonation and dispensing beer.
-
Gas & Liquid Disconnects – These quick-connect fittings attach the CO2 system and tap to your keg.
-
Beer Line & Faucet – A tap system to pour beer smoothly with the perfect amount of foam.
-
Kegerator or Refrigerator – Keeping your keg at the right temperature enhances beer freshness.
How to Keg Your Homebrew with a Ball Lock Keg System
Step 1: Clean & Sanitize Everything
Before kegging, thoroughly clean and sanitize your keg, CO2 lines, and tap system to prevent contamination.
Step 2: Transfer Beer into the Keg
Use a siphon or auto-siphon to carefully transfer your beer from the fermenter into the keg, avoiding any sediment.
Step 3: Purge Oxygen from the Keg
Oxygen is the enemy of fresh beer! After sealing the keg, attach the CO2 system and purge the oxygen by filling and releasing CO2 3-4 times.
Step 4: Force Carbonate Your Beer
Attach the CO2 tank and regulator to your ball lock keg:
-
Set pressure to 12-15 PSI and let it carbonate over 3-5 days.
-
For faster results, shake the keg at 30 PSI for 24 hours, then reduce pressure to serving levels.
Step 5: Store & Serve Your Beer
-
Keep the keg cold (34-38°F / 1-3°C) to preserve freshness.
-
Adjust CO2 pressure to 8-12 PSI for smooth pours.
-
Pour and enjoy your homemade craft beer on tap!
Why Choose TMCRAFT Ball Lock Kegs?
✅ Premium Stainless Steel – Corrosion-resistant and built for long-lasting use.
✅ Compact & Portable – Ideal for homebrewers and commercial setups.
✅ Reliable Ball Lock System – Ensures leak-free connections and easy setup.
✅ Compatible with Standard CO2 Systems – Works seamlessly with all beer kegging equipment.
Final Thoughts
Upgrading to a ball lock keg system is the best way to streamline your homebrewing process, improve beer quality, and enjoy draft beer at home. With TMCRAFT Ball Lock Kegs, you’ll get superior carbonation control, long-term durability, and the ultimate convenience.
Ready to upgrade? Check out TMCRAFT Ball Lock Kegs today and transform your homebrewing game! 🍻

