

How to Prevent Foam in a Mini Keg: Draft Beer Troubleshooting Guide for Beginners
Primary Keywords:
mini keg, prevent foam in mini keg, mini keg troubleshooting, stainless steel mini keg
Secondary Keywords:
mini keg pressure guide, portable draft beer keg, foamy beer fix, double walled mini keg, TMCRAFT mini keg
Few things frustrate homebrewers more than pouring a glass of beer and getting mostly foam.
Excess foam wastes beer, affects carbonation, and ruins the draft experience. Fortunately, foamy pours are usually caused by setup issues—not the beer itself.
If you use a mini keg system, understanding how pressure, temperature, and serving conditions work together can solve most foam problems quickly.
In this guide, you’ll learn the most common causes of foam in a mini keg, how to fix them, and how TMCRAFT mini kegs help create smoother, more consistent pours.
Why Foam Happens in a Mini Keg
Foam forms when carbon dioxide (CO2) escapes from beer too quickly during dispensing.
A small foam head is normal and desirable. However, excessive foam means carbonation is becoming unstable before the beer reaches the glass.
This usually happens because of:
- Incorrect pressure
- Warm beer
- Poor line balance
- Dirty components
- Improper pouring technique
Understanding these factors is the first step toward fixing the issue.
Cause #1: Beer Temperature Is Too Warm
Warm beer is the most common reason for excessive foam.
As temperature increases:
- CO2 escapes faster
- Carbonation becomes unstable
- Beer foams aggressively during pouring
How to Fix It
Keep your mini keg at:
- 36°F to 40°F (2°C to 4°C)
Always chill the keg completely before serving.
If using the keg outdoors, a double-walled mini keg helps maintain colder temperatures longer.
Cause #2: CO2 Pressure Is Too High
Excessive pressure forces too much gas into the beer.
This can cause:
- Overcarbonation
- Aggressive foaming
- Fast pours with little liquid retention
How to Fix It
For most beer styles:
- Use 10–12 PSI at serving temperature
If overcarbonated:
- Lower the pressure
- Pull the pressure relief valve briefly
- Allow the keg to stabilize before serving again
Small pressure adjustments are usually enough.
Cause #3: Beer Line Is Too Short
Short beer lines reduce resistance.
Without enough resistance:
- Beer exits too quickly
- CO2 breaks out rapidly
- Foam increases dramatically
How to Fix It
Use balanced beer line lengths.
For most home setups:
- 5–8 feet of 3/16" beer line works well
Longer lines help control flow and improve pour consistency.
Cause #4: Dirty Faucet or Tap
Residue inside the tap disrupts smooth liquid flow.
This creates turbulence, which releases CO2 too quickly.
How to Fix It
Clean regularly:
- Faucet
- Tap nozzle
- Beverage lines
- Connectors
A clean system improves both flavor and pour quality.
Cause #5: Pouring Incorrectly
Improper pouring technique creates excess agitation.
How to Fix It
Use proper draft pouring technique:
- Hold glass at 45 degrees
- Open faucet fully
- Straighten glass gradually
- Close faucet quickly when finished
Partially opening the faucet often creates more foam.
Cause #6: Keg Was Recently Moved
Transporting or shaking the keg disturbs carbonation.
Immediately pouring afterward usually causes foam problems.
How to Fix It
After moving the keg:
- Let it rest for several hours
- Chill fully before serving
This allows carbonation to stabilize again.
Cause #7: Overcarbonated Beer
Too much dissolved CO2 creates unstable pours.
This often happens during fast carbonation methods.
How to Fix It
To reduce carbonation:
- Lower PSI
- Vent pressure gradually
- Let keg rest cold overnight
Repeat if necessary until pours stabilize.
Foam vs Proper Head Retention
Not all foam is bad.
A proper beer head:
- Enhances aroma
- Improves appearance
- Supports flavor perception
The goal is controlled foam—not zero foam.
Ideal Mini Keg Serving Conditions
| Factor | Recommended Range |
|---|---|
| Temperature | 36–40°F |
| Pressure | 10–12 PSI |
| Beer Line Length | 5–8 feet |
| Serving Method | Fully open faucet |
Balanced systems produce the best draft results.
Why Stainless Steel Mini Kegs Reduce Foam Problems
A stainless steel mini keg offers several advantages for stable pouring.
Better Pressure Retention
Maintains consistent carbonation.
Improved Temperature Stability
Keeps beer colder longer.
Smooth Interior Surface
Supports easier cleaning.
Durable Construction
Handles repeated pressure cycles safely.
Mini Keg vs Growler for Draft Quality
| Feature | Mini Keg | Growler |
|---|---|---|
| Pressure Control | Excellent | None |
| Carbonation Retention | High | Low |
| Foam Control | Better | Limited |
| Freshness Duration | Longer | Shorter |
A mini keg system provides far greater draft consistency.
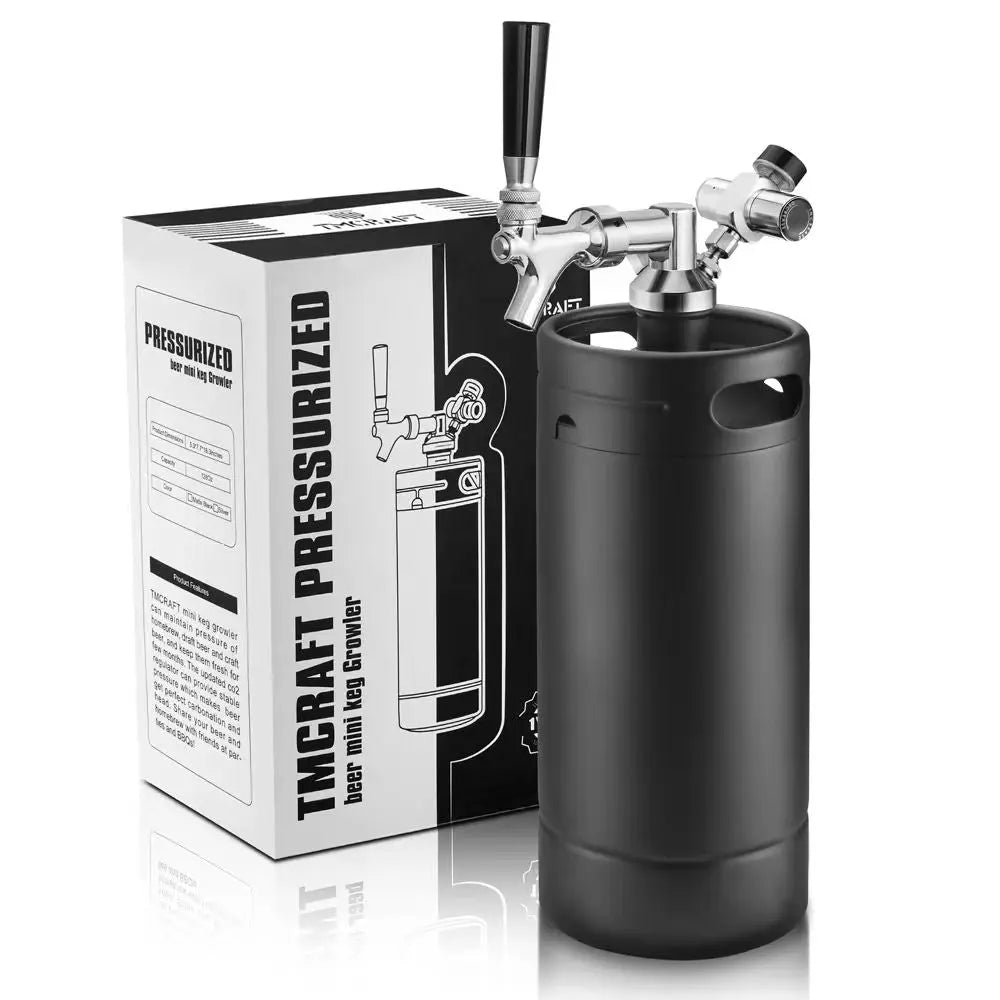
Why Choose TMCRAFT Mini Kegs?
TMCRAFT mini kegs are designed for reliable draft performance and better beer freshness.
Key features include:
- Food-grade stainless steel construction
- Leak-resistant sealing system
- Double-walled insulation options
- Compatible CO2 dispensing systems
- Portable and reusable design
- Easy-clean surfaces
Whether you are a beginner or experienced homebrewer, TMCRAFT helps reduce common pouring problems and improve beer quality.
Best Uses for a Mini Keg System
A portable mini keg works perfectly for:
- Homebrew beer
- Craft beer serving
- Camping trips
- Outdoor parties
- Tailgating
- Small gatherings
Stable carbonation and smooth pours improve every experience.
Final Verdict
Learning how to prevent foam in a mini keg is essential for achieving smooth, professional-quality draft beer at home.
Most foam problems are caused by:
- Warm temperatures
- Incorrect pressure
- Poor line balance
- Dirty components
With proper setup and a reliable TMCRAFT mini keg, you can enjoy fresher beer, stable carbonation, and cleaner pours every time.
Link to: Why Your Mini Keg Beer Tastes Flat: 7 Common Causes and Easy Fixes