

How to Fix a Leaking Ball Lock Keg: Complete Troubleshooting Guide
Primary Keywords:
ball lock keg, leaking ball lock keg, fix keg leak, stainless steel ball lock keg
Secondary Keywords:
keg troubleshooting guide, keg pressure leak, homebrew keg repair, ball lock keg system, TMCRAFT ball lock keg
A leaking keg can quickly ruin an otherwise perfect batch.
If your ball lock keg is losing pressure, producing flat beer, or emptying CO2 faster than expected, there’s a high chance you’re dealing with a leak somewhere in the system.
Even a small leak can lead to:
- Loss of carbonation
- Wasted CO2
- Inconsistent pours
- Oxidized or stale beer
The good news is that most leaks are easy to diagnose and fix once you know where to look.
In this guide, you’ll learn how to troubleshoot a leaking ball lock keg system, identify the most common failure points, and apply simple fixes to restore performance.
Why Ball Lock Kegs Leak
A ball lock keg relies on airtight seals to maintain pressure.
Leaks typically happen due to:
- Worn O-rings
- Loose connections
- Damaged posts
- Improper assembly
- Dirty sealing surfaces
- Faulty gas fittings
Because keg systems operate under pressure, even minor imperfections can cause noticeable issues.
Signs You Have a Leak
Before troubleshooting, confirm the problem.
Common signs include:
Rapid CO2 Loss
Gas tank empties faster than normal.
Flat Beer
Carbonation disappears quickly.
Hissing Sound
Gas escaping from connections.
Inconsistent Pressure
Gauge readings drop over time.
Poor Pour Quality
Foam or weak flow due to unstable pressure.
If you notice one or more of these, it’s time to inspect your system.
Most Common Leak Points in a Ball Lock Keg
1. Lid O-Ring
The lid seal is the most frequent leak source.
Symptoms
- Pressure won’t hold
- Gas escapes around lid
Fix
- Inspect O-ring for cracks or flattening
- Apply food-grade lubricant
- Replace if worn
- Ensure lid is seated correctly
2. Gas Post and Liquid Post O-Rings
These seals sit on the keg posts.
Symptoms
- Leaks at disconnect points
- Bubbling during pressure test
Fix
- Replace worn O-rings
- Ensure proper sizing
- Lubricate lightly
3. Poppets Inside Posts
Poppets control flow and sealing.
Symptoms
- Slow leaks at posts
- Inconsistent pressure
Fix
- Remove and inspect
- Clean thoroughly
- Replace if damaged
4. Dip Tube O-Rings
Located inside the keg.
Symptoms
- Internal pressure issues
- Subtle gas loss
Fix
- Inspect during deep cleaning
- Replace if needed
5. Gas and Liquid Disconnects
External connectors can also leak.
Symptoms
- Hissing near connections
- Loose fitting feel
Fix
- Check for proper attachment
- Replace worn connectors
- Inspect internal seals
6. Pressure Relief Valve (PRV)
The PRV releases excess pressure but can fail.
Symptoms
- Constant gas leakage from valve
- Difficulty maintaining pressure
Fix
- Clean valve
- Replace if malfunctioning
Step-by-Step: How to Find a Leak
Step 1: Pressurize the Keg
Add CO2 and bring the keg to:
- 10–15 PSI
This creates enough pressure to detect leaks.
Step 2: Use Soapy Water or Sanitizer Spray
Spray all connections:
- Lid
- Posts
- Disconnects
- PRV
- Gas lines
Step 3: Look for Bubbles
Bubbles indicate escaping gas.
No bubbles = good seal.
Step 4: Isolate the Problem Area
Test one section at a time to identify the exact leak source.
Step 5: Fix and Retest
After fixing:
- Re-pressurize
- Spray again
- Confirm no further leaks
How to Prevent Future Leaks
Replace O-Rings Regularly
Preventative replacement is inexpensive and effective.
Lubricate Seals
Use food-grade lubricant to improve sealing.
Clean Before Assembly
Residue can prevent proper sealing.
Avoid Over-Tightening
Too much force can damage threads and seals.
Store Properly
Avoid extreme heat and dry conditions that damage rubber.
Why Stainless Steel Kegs Help Reduce Leaks
A stainless steel ball lock keg offers better sealing performance.
Strong Lid Fit
Improves O-ring compression.
Durable Threads
Prevents connection wear.
Corrosion Resistance
Maintains long-term reliability.
Consistent Pressure Handling
Supports stable carbonation.
Ball Lock Keg vs Bottles: Leak Impact
| Feature | Ball Lock Keg | Bottles |
|---|---|---|
| Pressure Control | High | Low |
| Leak Risk | Moderate (fixable) | Low |
| Carbonation Stability | Excellent | Limited |
| Maintenance | Required | Minimal |
While kegs require maintenance, they offer far superior performance when properly maintained.
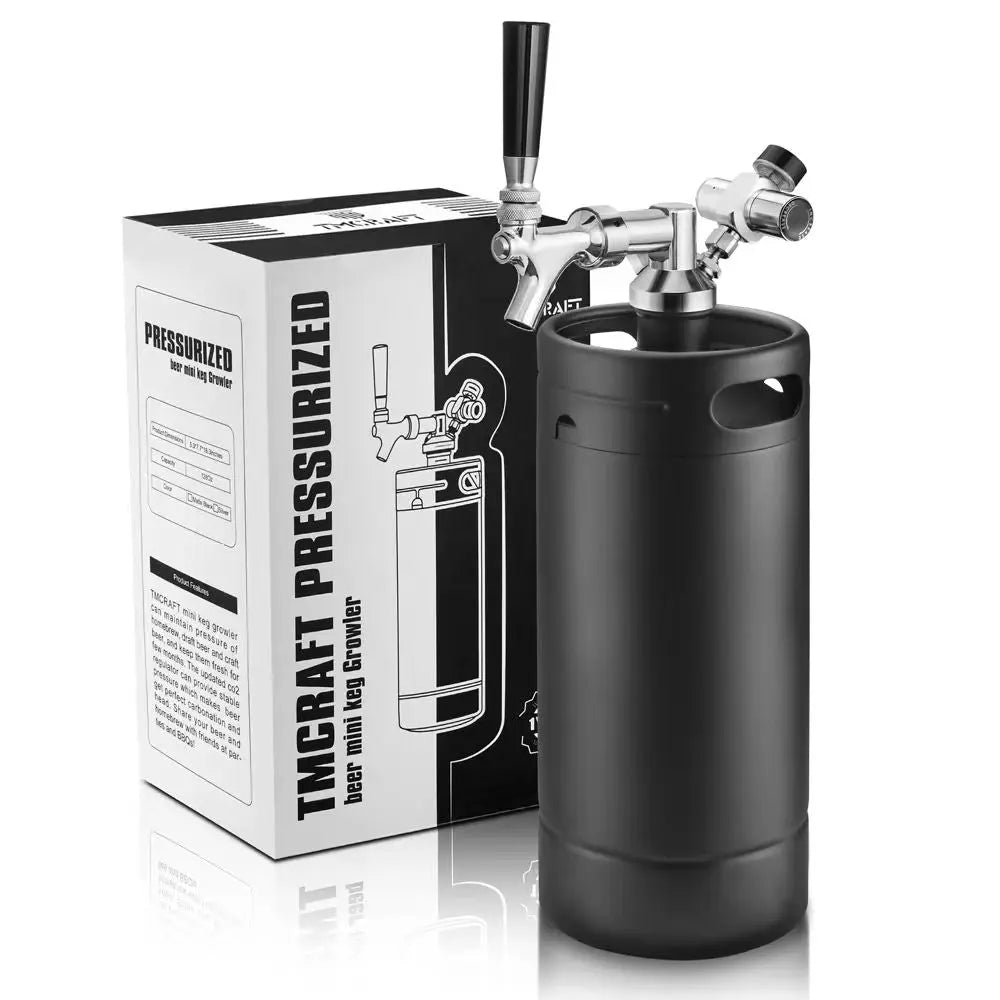
Why Choose TMCRAFT Ball Lock Kegs?
TMCRAFT kegs are designed for reliable sealing and easy maintenance.
Benefits include:
- Food-grade stainless steel construction
- Precision sealing system
- Standard ball lock compatibility
- Easy disassembly for cleaning
- Durable pressure-resistant design
- Suitable for beer, kombucha, coffee, and more
With proper care, TMCRAFT kegs deliver consistent, leak-free performance.
Best Use Cases for a Ball Lock Keg System
A well-maintained system works for:
- Homebrew beer
- Craft beer storage
- Sparkling water
- Kombucha
- Cold brew coffee
- Cocktail dispensing
Leak-free operation ensures consistent results across all uses.
Final Verdict
Learning how to fix a leaking ball lock keg is essential for maintaining carbonation, preserving flavor, and avoiding wasted CO2.
Most leaks come from simple issues like worn O-rings or loose connections—and they can be fixed quickly with basic maintenance.
With a reliable TMCRAFT ball lock keg, proper sealing and regular inspection make leak problems rare and easy to manage.
Link to: How to Balance a Ball Lock Keg System: Line Length, Pressure and Perfect Pour Guide