

How to Filter Cold Brew Before Kegging: Reduce Coffee Particles and Protect Your Faucet
Why Should You Filter Cold Brew Before Kegging?
Cold brew coffee is simple to prepare, but transferring it into a coffee keg requires a little extra attention. Even after brewing and straining, small coffee particles may remain in the liquid. These particles can settle inside the keg, collect around the dip tube, or build up near the faucet.
Over time, excess residue can affect the appearance of your coffee, make dispensing less consistent, and increase cleaning work.
Whether you are preparing cold brew for home, an office coffee station, or a small gathering, proper filtration helps keep your beverage and dispensing equipment in better condition.
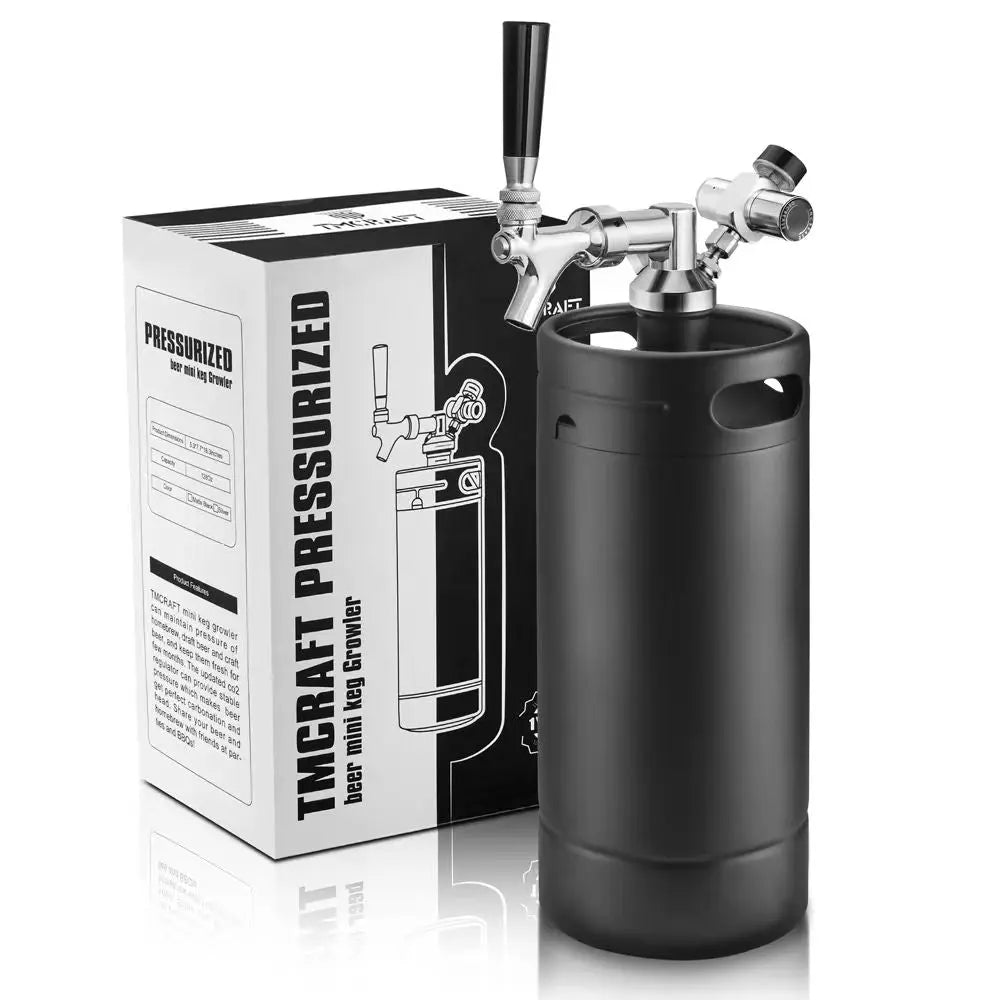
A stainless steel keg designed for beverage use can be a convenient storage and dispensing option, but good preparation before filling is equally important.
1. Start with the Right Coffee Grind
The amount of coffee sediment in your finished cold brew partly depends on the grind size.
Very fine coffee grounds are more difficult to separate from liquid. They can pass through basic filters and create a cloudy appearance or leave residue inside your equipment.
For most cold brew methods, a coarse grind is a practical starting point. Larger coffee particles are generally easier to filter out and can help reduce excessive sediment.
When preparing a batch:
-
Use consistently coarse coffee grounds.
-
Avoid grinding the beans into powder.
-
Measure coffee and water to keep your recipe consistent.
-
Use clean brewing containers and utensils.
A consistent grind also makes it easier to repeat a recipe and compare the flavor of different batches.
2. Use a Two-Stage Filtration Method
Filtering cold brew in two stages can help remove larger particles before finer filtration.
First stage: Remove the large grounds
After steeping, pour the coffee through a suitable mesh strainer or brewing filter. This removes most of the larger coffee grounds and makes the next filtration step easier.
Avoid squeezing the grounds aggressively. Doing so can push additional fine particles into the liquid and may affect the flavor.
Second stage: Remove finer particles
Pass the strained coffee through a finer filter, such as a suitable paper coffee filter or fine brewing filter.
The choice depends on your preferred coffee texture. Paper filters can remove more fine particles, while some reusable filters allow more oils and small particles to pass through.
If your goal is a cleaner-looking cold brew that is easier to dispense, finer filtration is generally a useful step.
3. Let the Coffee Settle Before Transferring
Even after filtration, a small amount of sediment may remain. Allowing the finished coffee to rest can help some particles settle naturally.
Place the filtered cold brew in a clean, covered container and keep it refrigerated as appropriate for your preparation process.
When transferring the coffee, avoid pouring the settled material at the bottom into your keg. Use a suitable transfer method and stop when the remaining liquid becomes noticeably cloudy.
Do not shake the container immediately before transferring. This can mix settled particles back into the coffee.
4. Protect Your Coffee Keg Faucet and Dip Tube
Coffee particles can collect around the internal dip tube, faucet outlet, and beverage connections. If enough residue builds up, it may restrict liquid flow or make dispensing less consistent.
Before filling your keg, check that the faucet and beverage-contact components are clean and correctly assembled.
During use, pay attention to changes in dispensing speed. If the coffee begins flowing unusually slowly, inspect the system according to the manufacturer's instructions rather than immediately increasing the gas pressure.
For models with removable dispensing components, follow the recommended cleaning and maintenance procedure. Do not force small parts or use tools that could damage seals and fittings.
5. Keep Cold Brew Fresh and Properly Stored
Filtration helps remove particles, but it does not replace proper storage and food-safety practices.
Keep prepared cold brew refrigerated as appropriate for your recipe and handling conditions. Use clean, covered containers during preparation and transfer the coffee into a properly cleaned and sanitized keg.
The storage life of cold brew depends on factors such as preparation hygiene, ingredients, filtration, and temperature. Avoid assuming that every batch has the same shelf life.
If you notice an unusual smell, appearance, or flavor, do not serve the coffee.
6. Clean the Keg After Every Batch
Even well-filtered coffee can leave oils and residue inside your dispensing system.
After emptying the keg, clean the interior, dip tube, faucet, and other beverage-contact components according to the manufacturer's instructions.
Use cleaning products suitable for your keg materials and follow the recommended dilution and contact time. Rinse or sanitize components as directed before preparing the next batch.
Pay particular attention to the faucet because coffee oils can accumulate around its internal parts and outlet.
Prepare Better Cold Brew for Your Coffee Keg
A good coffee keg batch starts before the coffee reaches the keg. Use a consistent grind size, filter in stages, allow particles to settle, and transfer carefully.
These simple steps can help reduce sediment, protect your faucet, and make your coffee dispensing system easier to maintain.
Whether you use a compact coffee keg at home or a larger setup for an office or gathering, proper filtration and regular cleaning help you enjoy smoother cold brew with more consistent dispensing.
Link to: Why Does Nitro Cold Brew Need Different Serving Settings From Regular Cold Brew?