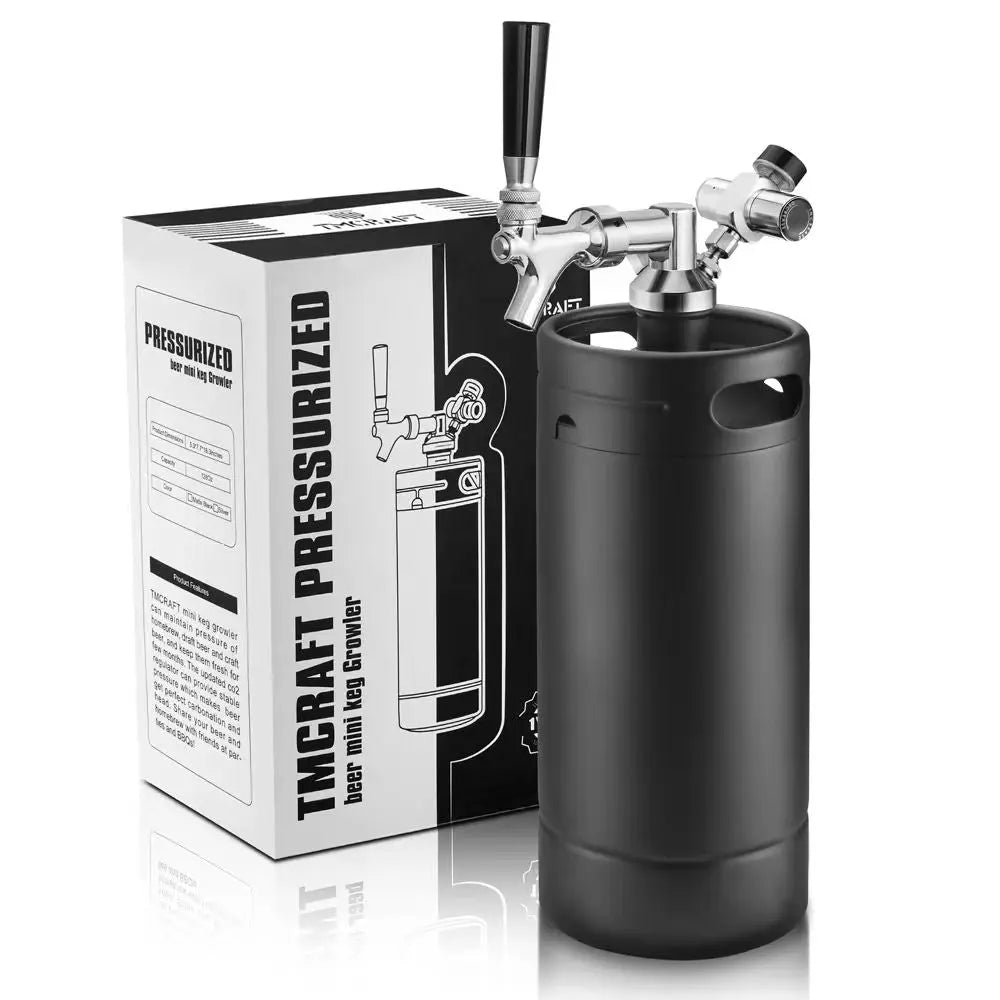


How to Clean a Mini Keg Properly: A Simple Guide for Better-Tasting Drinks
Why Cleaning Your Mini Keg Matters
A mini keg is a convenient way to store and serve beer, cold brew coffee, sparkling water, and other beverages. But like any reusable beverage equipment, it needs proper cleaning.
You may think rinsing the keg with water after use is enough. Sometimes it looks clean, but small amounts of beverage can remain inside the keg, dip tube, faucet, or beverage line.
Over time, this residue can affect the taste of your next drink.
The good news is that mini keg cleaning does not have to be difficult. With a simple routine, you can keep your keg ready for the next batch and help your beverages taste fresh.
Why Should You Clean a Mini Keg After Every Use?
Beverages can leave behind different types of residue.
Beer may leave:
- Yeast
- Hops
- Proteins
- Sticky residue
Coffee can leave:
- Coffee oils
- Fine particles
- Sediment
Even sparkling water can leave minerals behind depending on the water source.
If residue remains inside the keg, it can become more difficult to remove later.
Cleaning soon after use is therefore much easier than waiting until the residue has dried.
Step 1: Empty the Keg Completely
The first step is simple: empty the keg.
Try not to leave leftover beverage sitting inside for a long period.
Once the keg is empty, disconnect the dispensing equipment according to the manufacturer's instructions.
If the keg has pressure, make sure pressure is safely released before opening it.
Safety should always come first when working with pressure-rated beverage equipment.
Step 2: Rinse With Water
Start with a thorough rinse.
Warm water can help loosen remaining beverage residue.
Rinse the inside of the mini keg several times until there is no obvious beverage left.
Do not forget the lid and other removable parts.
At this stage, you are mainly removing loose material before deeper cleaning.
Step 3: Clean the Inside of the Keg
After rinsing, use an appropriate beverage-equipment cleaner according to its instructions.
Fill or soak the keg as recommended by the cleaning-product manufacturer.
Pay attention to areas where residue may collect, including:
- Bottom of the keg
- Lid area
- Around fittings
- Dip tube opening
A stainless steel keg is popular for reusable beverage storage partly because its smooth surface is relatively easy to clean.
However, stainless steel still requires proper cleaning. The material does not replace good maintenance.
Step 4: Do Not Forget the Dip Tubes
The inside of your keg is only part of the system.
The liquid dip tube comes into direct contact with your beverage, so it should also be cleaned.
Remove it according to the manufacturer's instructions and clean it thoroughly.
If beverage residue remains inside the tube, it can affect the next drink even when the keg itself looks perfectly clean.
This is one of the easiest parts of a keg system to overlook.
Step 5: Clean the Faucet and Beverage Line
Many beginners focus on the keg and forget the dispensing equipment.
However, the beverage line and faucet are part of the beverage path.
Think about it this way:
Keg → dip tube → post → beverage line → faucet → glass
Every part that touches your drink needs attention.
A dirty beverage line can introduce unwanted flavors into a fresh batch.
For this reason, regular keg maintenance should include the complete dispensing system, not just the container.
Step 6: Check the Gaskets and O-Rings
While cleaning your mini keg, take a moment to inspect the sealing components.
Look at:
- Lid gasket
- Post O-rings
- Dip tube O-rings
- Other sealing parts
Check for visible damage, cracks, or excessive wear.
A worn gasket may eventually cause pressure to escape.
Keeping these small parts clean and in good condition can help your keg perform more reliably.
Step 7: Rinse Thoroughly
After using a cleaning solution, rinse according to the cleaner's instructions.
You do not want leftover cleaning solution affecting the flavor of your beverage.
Pay special attention to:
- Keg interior
- Dip tubes
- Lid
- Beverage lines
- Faucet
Take your time with this step.
Good cleaning is not just about removing visible dirt. It is also about preparing the equipment for the next beverage.
Step 8: Sanitize Before Filling Again
Cleaning and sanitizing are not exactly the same thing.
Cleaning removes dirt and beverage residue.
Sanitizing reduces microorganisms on properly cleaned surfaces.
If you are preparing equipment for beer or another beverage where sanitation is important, use an appropriate food-contact sanitizer according to its instructions.
Follow the recommended concentration and contact time for the product you use.
Should You Clean a Mini Keg Differently for Beer and Coffee?
The basic process is similar, but the type of residue can be different.
Beer
Beer can leave yeast, hops, and other brewing residue.
Pay particular attention to the dip tube and beverage line.
Cold Brew Coffee
Coffee contains oils that can build up on surfaces.
A coffee keg or mini keg used for cold brew may need careful cleaning of the faucet and beverage line.
Sparkling Water
Sparkling water generally leaves less organic residue, but regular rinsing and cleaning are still important.
The key is to clean according to what you are storing and serving.
Common Mini Keg Cleaning Mistakes
Only Rinsing With Water
A quick rinse may remove visible residue but may not be enough for regular use.
Forgetting the Faucet
The faucet is one of the final components your beverage touches.
Ignoring the Beverage Line
Old residue inside the line can affect the flavor of a new batch.
Waiting Too Long
Cleaning soon after emptying the keg is usually easier than removing dried residue later.
Using the Wrong Cleaner
Always make sure the cleaning product is appropriate for your equipment and follow its instructions.
How Often Should You Clean Your Mini Keg?
A good rule is to clean the keg after each use.
If you use the keg frequently, establish a regular maintenance routine rather than waiting until there is a noticeable problem.
For example:
After every batch: clean the keg, dip tube, beverage line, and faucet.
Regularly: inspect O-rings, gaskets, and fittings.
Before refilling: make sure the entire system is clean and ready for the next beverage.
Final Thoughts: Clean Equipment Means Better Drinks
Learning how to clean a mini keg is one of the most useful skills for anyone who regularly serves beverages from a draft system.
The process is simple:
Empty → rinse → clean → inspect → sanitize → prepare for the next batch.
Remember that the keg itself is only one part of the system. Dip tubes, fittings, beverage lines, and faucets also need regular attention.
A durable stainless steel keg can provide many years of reusable beverage storage when properly maintained, but good material and good maintenance work together.
Whether you use your mini keg for craft beer, cold brew, sparkling water, or another beverage, keeping the complete system clean is one of the easiest ways to protect flavor and enjoy a better pour every time.
Link to: Can You Travel With a Mini Keg? Tips for Taking Draft Drinks Beyond Your Kitchen