

Ball Lock Keg Won't Hold Pressure? A Complete Troubleshooting and Repair Guide
A ball lock keg is designed to maintain a sealed, pressurized environment that keeps beer carbonated and fresh. When the system loses pressure, however, even the best homebrew can quickly become flat, difficult to dispense, or exposed to unwanted oxygen.
If your ball lock keg won't hold pressure, don't assume it's time to replace the keg. In most cases, the problem is caused by a worn seal, a loose connection, or a small leak that can be identified and repaired in just a few minutes.
This guide explains the most common causes of keg pressure leaks, how to diagnose them step by step, and the best maintenance practices to keep your homebrew keg system working reliably.
Why Pressure Retention Is So Important
A properly sealed ball lock keg does much more than dispense beer.
Maintaining pressure helps:
- Preserve carbonation
- Protect beer from oxygen exposure
- Deliver smooth, consistent pours
- Reduce CO₂ waste
- Extend beer freshness
Even a slow keg pressure leak can affect the quality of your beer over time.
Signs Your Ball Lock Keg Won't Hold Pressure
Before searching for the cause, look for these common symptoms:
- Flat or under-carbonated beer
- Empty CO₂ tank sooner than expected
- Hissing sounds around the keg
- Regulator pressure dropping overnight
- Beer pouring with little or no pressure
- Difficulty maintaining carbonation
These signs usually indicate that your ball lock keg won't hold pressure properly.
Step 1: Inspect the Lid Seal
The lid O-ring is one of the most common sources of pressure loss.
Look for:
- Cracks
- Flattened rubber
- Dry or brittle material
- Dirt or dried beer residue
A damaged lid seal often causes a slow keg pressure leak that is difficult to notice at first.
Solution
- Remove the O-ring.
- Clean the groove thoroughly.
- Lubricate with food-grade lubricant if recommended.
- Replace the seal if it shows signs of wear.
Step 2: Check the Gas and Liquid Posts
The gas and liquid posts seal the keg while allowing quick disconnects to attach.
Problems may include:
- Loose posts
- Damaged threads
- Worn post O-rings
- Dirty sealing surfaces
Solution
Tighten the posts carefully using the correct socket.
Inspect the O-rings and replace them if necessary.
Step 3: Examine the Poppet Valves
Inside each post is a spring-loaded poppet valve.
Over time, poppets may:
- Wear out
- Become clogged
- Fail to seal completely
Solution
Disassemble the post.
Clean the poppet thoroughly.
Replace damaged springs or worn components.
Proper corny keg repair often starts with inspecting these small but important parts.
Step 4: Inspect Quick Disconnects
Sometimes the keg is perfectly sealed, but the disconnect fittings are leaking.
Check for:
- Loose fittings
- Cracked connectors
- Damaged internal seals
Disconnects that fail to seal properly may allow CO₂ to escape continuously.
Step 5: Pressure-Test the Keg
One of the easiest ways to locate a leak is with a pressure test.
How to Perform a Pressure Test
- Pressurize the ball lock keg.
- Disconnect the gas supply.
- Leave the keg undisturbed for several hours.
- Check whether pressure remains.
If pressure drops significantly, the keg has a leak that needs further investigation.
Step 6: Use the Soapy Water Method
The classic leak detection method remains one of the most effective.
Spray a mixture of water and mild dish soap around:
- Lid
- Gas post
- Liquid post
- Pressure relief valve
- Gas fittings
Bubbles will appear wherever CO₂ is escaping.
This simple technique quickly identifies most keg pressure leaks.
Step 7: Check the Pressure Relief Valve
The pressure relief valve (PRV) protects the keg from excessive pressure.
If the valve becomes dirty or worn, it may no longer seal correctly.
Solution
Inspect the PRV for:
- Cracks
- Debris
- Damaged seals
Replace the valve if it fails to close completely.
Step 8: Inspect the Dip Tubes
Although less common, damaged dip tube O-rings can also contribute to pressure problems.
Remove both dip tubes and inspect:
- O-rings
- Tube ends
- Seating surfaces
Replace worn components before reassembly.
Common Causes of Ball Lock Keg Pressure Loss
| Problem | Possible Cause | Recommended Fix |
|---|---|---|
| Slow pressure loss | Worn lid O-ring | Replace seal |
| Continuous hissing | Loose gas post | Tighten and inspect |
| Flat beer | CO₂ leak | Perform pressure test |
| Empty gas tank | Damaged disconnect | Replace fitting |
| Pressure won't stabilize | Faulty PRV | Install new valve |
Preventive Maintenance Tips
Preventing leaks is easier than repairing them.
Follow these maintenance habits:
- Replace O-rings annually.
- Clean posts after every batch.
- Lubricate seals when appropriate.
- Store spare replacement seals.
- Check pressure before long-term storage.
- Perform regular leak tests.
Routine inspections reduce the chances that your ball lock keg won't hold pressure unexpectedly.
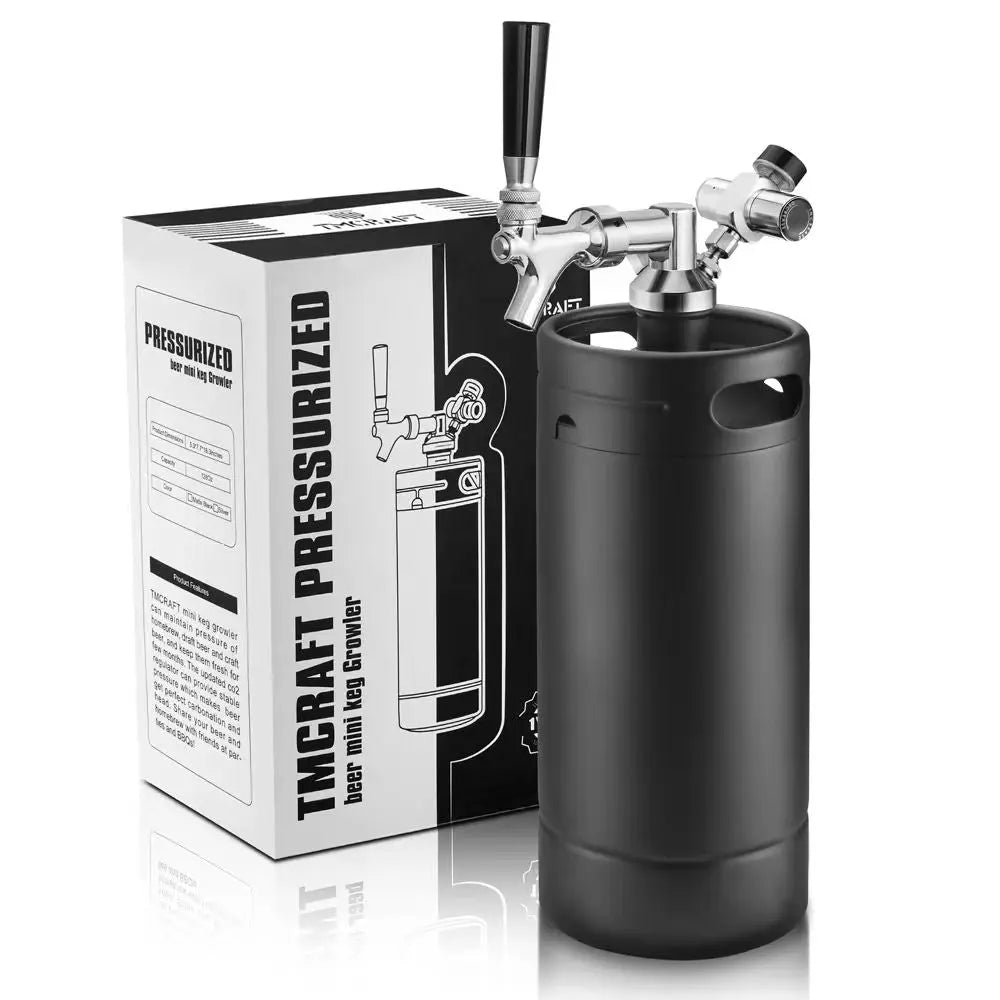
Why TMCRAFT Ball Lock Kegs Are Built for Reliable Pressure Retention
TMCRAFT ball lock kegs are engineered for dependable performance in homebrew and commercial draft applications.
Key features include:
- Food-grade 304 stainless steel construction
- Precision-machined ball lock posts
- Durable pressure-resistant body
- Replaceable O-rings and fittings
- Easy-to-clean interior
- Standard ball lock compatibility
These features help minimize leaks while making routine maintenance quick and straightforward.
Frequently Asked Questions
Why won't my ball lock keg hold pressure?
The most common causes include worn O-rings, loose posts, leaking disconnects, or a faulty pressure relief valve.
How do I find a keg pressure leak?
The easiest method is to pressurize the keg and apply a soapy water solution to all potential leak points. Escaping CO₂ will create visible bubbles.
How often should I replace O-rings?
Most homebrewers replace keg O-rings once a year or whenever signs of wear appear.
Can a damaged lid cause pressure loss?
Yes. A worn or improperly seated lid O-ring is one of the leading causes of pressure leaks in a ball lock keg.
Is it worth repairing a leaking ball lock keg?
In most cases, yes. The majority of leaks are inexpensive to fix with replacement seals or small components.
Conclusion
If your ball lock keg won't hold pressure, the solution is often simpler than it first appears. Careful inspection of the lid seal, posts, poppets, disconnects, and pressure relief valve can usually identify the source of the problem in just a few minutes.
Regular maintenance and routine pressure testing not only prevent keg pressure leaks but also protect beer quality, reduce CO₂ waste, and extend the lifespan of your equipment.
TMCRAFT ball lock kegs are designed with durable stainless steel construction, replaceable components, and precision fittings, making them easy to maintain and dependable for years of homebrewing. With the right troubleshooting approach, you can quickly restore pressure and enjoy fresh, perfectly carbonated draft beer every time.
Link to: Ball Lock Keg Pressure Chart: The Complete Guide to CO₂ PSI for Every Beer Style