

How to Serve Unfiltered Beer from a Mini Keg: Managing Sediment for a Cleaner Pour
Why Does Unfiltered Beer Have Sediment?
If you brew beer at home or purchase fresh craft beer from a local brewery, you may notice cloudy particles or a small layer of sediment at the bottom of the container. This is common with unfiltered beer.
Sediment can contain yeast, proteins, and other particles left over from brewing. Some beer styles are intentionally served cloudy, so a little haze is not necessarily a problem. However, too much sediment in your glass can affect the appearance, texture, and drinking experience.
When using a mini keg, a few simple preparation and serving techniques can help reduce unwanted sediment without changing the character of your beer.
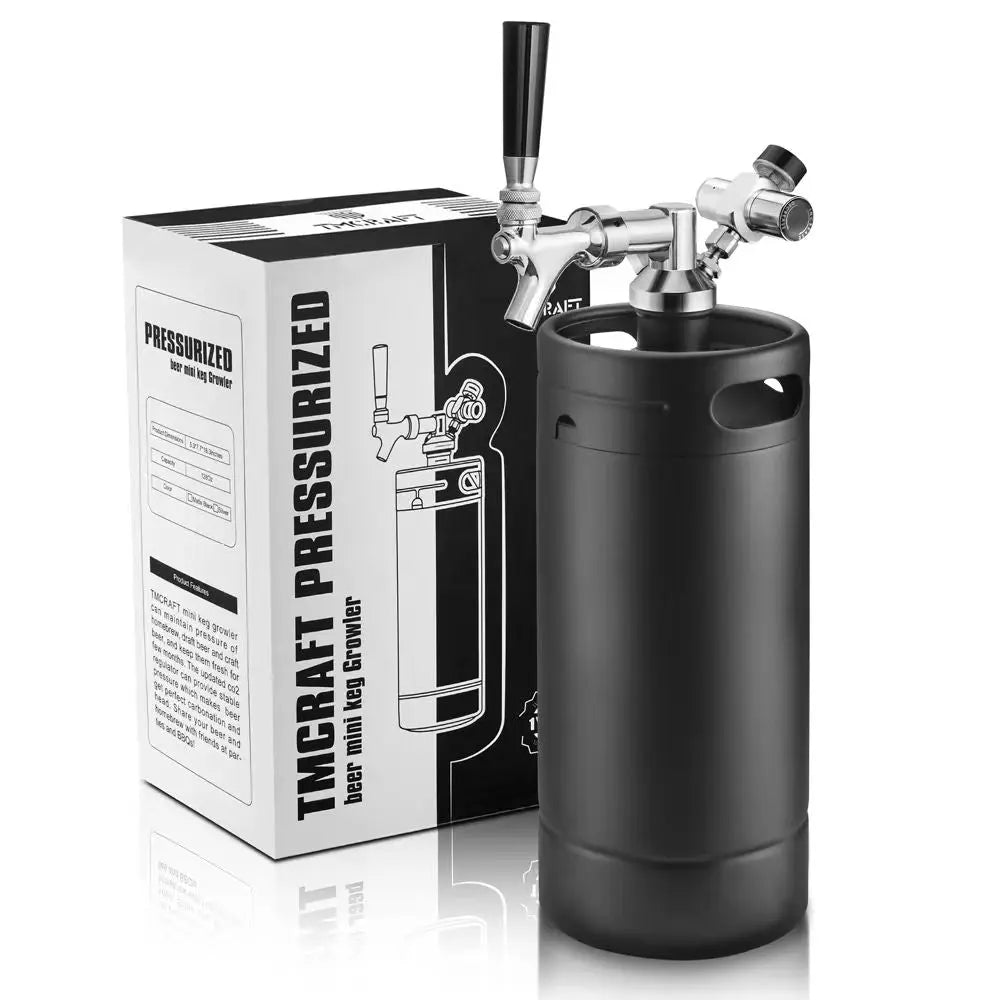
A stainless steel keg designed for beverage storage can be a convenient option for keeping and dispensing craft beer, but the way you fill, store, and pour it also matters.
1. Let the Beer Settle Before Filling
One of the easiest ways to reduce sediment is to allow suspended particles to settle before transferring beer into your mini keg.
After fermentation is complete, give the beer enough time to clarify according to your recipe and brewing process. Yeast and other heavier particles will gradually collect at the bottom of the fermentation vessel.
Avoid moving or shaking the vessel unnecessarily before transferring. Disturbing the settled material can mix sediment back into the beer.
When transferring, use a suitable siphon or transfer method and keep the intake above the sediment layer. Stop transferring when the remaining beer becomes noticeably cloudy rather than trying to collect every last drop.
This approach helps keep excessive yeast and other particles out of your mini keg.
2. Keep Your Mini Keg Upright
Once your beer is inside the mini keg, position it upright on a stable surface whenever possible.
If the keg is moved frequently, settled particles may become suspended again. Giving the beer time to settle before serving can improve the clarity of the first pours.
For a gathering, prepare your keg in advance rather than filling it immediately before guests arrive. This gives the beer time to rest after transportation or handling.
If you are taking a mini keg to a party or outdoor event, try to keep it upright during transportation and avoid unnecessary movement after setting it down.
3. Understand How the Dip Tube Affects Sediment
Many mini kegs use a dip tube or internal pickup tube to draw beer from inside the container. Depending on the design, the tube may collect liquid from near the bottom of the keg.
This means that sediment can eventually reach the faucet, particularly when a keg contains a large amount of settled yeast or brewing particles.
Before using your mini keg, check its internal design and follow the manufacturer's instructions. Do not assume every model has the same dip-tube position or sediment-management features.
If your beer becomes cloudy toward the end of the keg, it may simply be drawing from the area where particles have collected. Avoid tilting or shaking the keg to get the final remaining liquid, as this can stir up more sediment.
4. Pour Slowly and Avoid Disturbing the Keg
A controlled pour helps you serve beer more consistently.
Open the faucet according to its operating instructions and allow the beer to flow smoothly into your glass. Avoid repeatedly opening and closing the faucet or changing the dispensing pressure without a clear reason.
If the first pour contains more sediment than expected, allow the beer to settle again before serving another glass.
Keep in mind that some beer styles, including certain wheat beers and naturally cloudy craft beers, are intended to have a hazy appearance. The goal is not always to remove every particle, but to control unwanted sediment while preserving the beer's intended character.
5. Clean Your Mini Keg After Serving
Sediment left inside a keg can dry onto the bottom, dip tube, faucet, and other beverage-contact components. If it is not cleaned properly, it may affect the flavor of your next batch or interfere with dispensing.
After emptying the keg, follow the manufacturer's cleaning instructions. Use a suitable brewing-equipment cleaner and pay attention to areas where particles can collect.
Clean the faucet and removable beverage-contact parts as directed. Sanitize the equipment before filling it with another batch when required by your brewing process.
Avoid using cleaning chemicals or tools that could damage stainless steel, seals, or other keg components.
Enjoy a Cleaner Pour from Your Mini Keg
Serving unfiltered beer does not have to mean accepting excessive sediment in every glass. Letting beer settle before transfer, keeping the keg upright, understanding the dip-tube design, and pouring carefully can all help improve your results.
Different beer styles naturally contain different amounts of yeast and suspended particles, so some cloudiness may be expected. With proper preparation and regular cleaning, your mini keg can help you enjoy fresh craft beer with a more consistent serving experience.
Link to: How to Match a Mini Keg to Different Beer Styles: Temperature, Carbonation, and Serving Tips