How to Carbonate Beer in Bottles with CO2: A Step-by-Step Guide
If you're a homebrewer, you've likely experimented with different methods to carbonate your beer. While natural carbonation through priming sugar and bottle conditioning is common, using CO2 to carbonate your beer in bottles can provide more control over the level of carbonation and speed up the process. Whether you’re kegging your beer and transferring it to bottles, or just bottling up a batch from scratch, CO2 carbonation can give you crisp, effervescent beer that’s ready to enjoy in a shorter time.
In this blog, we’ll walk you through the step-by-step process of carbonating beer in bottles with CO2, and provide helpful tips for achieving the perfect level of fizziness. Plus, we'll recommend the equipment you'll need for successful carbonation.
What You’ll Need to Carbonate Beer in Bottles with CO2
Before diving into the process, let’s make sure you have everything you need to carbonate your beer using CO2. Here's a quick list of the essential equipment:
Essential Equipment:
- CO2 Tank: This is the source of the carbonation. A CO2 tank is essential for injecting the CO2 into your bottles.
- CO2 Regulator: This controls the pressure coming from the CO2 tank, ensuring you add the right amount of CO2 to your beer.
- Carbonation Caps: These are specialized caps that fit onto your beer bottles. They allow you to attach the CO2 hose and inject the gas into the bottles.
- Beer Bottles: Regular beer bottles can be used, but make sure they’re strong enough to handle the pressure of carbonation. You can also opt for bottles specifically designed for carbonation.
- CO2 Hose and Quick Disconnects: These are necessary for connecting the CO2 tank to the carbonation caps on the bottles.
- Beer: Of course, you’ll need your homebrew! The beer should already be fermenting and ready to carbonate.
Step-by-Step Process to Carbonate Beer in Bottles with CO2
Step 1: Prepare Your Beer for Bottling
Before you can carbonate your beer, it needs to be ready for bottling. This means your beer should be fully fermented and stable. If your beer has been fermenting for a couple of weeks, ensure it’s clear and has reached the correct final gravity (the specific gravity that indicates fermentation is complete). Bottling too early can result in over-carbonation or unwanted off-flavors.
- Check the Final Gravity: Use a hydrometer to measure the specific gravity of your beer. If it hasn’t changed for a few days, fermentation is likely complete.
- Taste the Beer: This is a great time to taste your beer and ensure it’s developed properly, and no off-flavors are present.
Step 2: Clean and Sanitize Everything
Sanitation is the key to successful homebrewing, especially when it comes to bottling. You want to avoid introducing any bacteria or wild yeast to your beer, which could spoil it.
- Clean the Bottles: Wash your bottles thoroughly, removing any old labels and residue.
- Sanitize the Bottles: Use a no-rinse sanitizer to sanitize all the equipment that will come into contact with your beer, including bottles, caps, hoses, and carbonation caps. This will reduce the risk of contamination.
- Sanitize the Carbonation Cap: Ensure the carbonation cap and all other components of your CO2 setup are also sanitized.
Step 3: Set Up the CO2 Tank and Regulator
Now it’s time to set up your CO2 system.
- Attach the CO2 Regulator to the CO2 Tank: Connect the CO2 regulator to the tank. Make sure it's tightly secured to avoid any leaks.
- Set the CO2 Pressure: Set the regulator to a low pressure, around 30 PSI. This is the optimal pressure for carbonating beer in bottles without over-carbonating or over-pressurizing the beer.
- Connect the CO2 Line: Attach the CO2 line from the regulator to the carbonation cap or bottle filler. If you're using a quick disconnect, make sure it’s secure.
Step 4: Attach Carbonation Caps to the Bottles
The carbonation cap is an essential part of the process as it allows you to inject CO2 into the bottles.
- Fit the Carbonation Cap onto Each Bottle: Secure the carbonation caps onto your beer bottles, making sure they are firmly attached.
- Ensure a Proper Seal: Check the seals on the carbonation caps to ensure no CO2 will escape when you begin carbonating the beer.
Step 5: Carbonate the Beer
With everything set up, it’s time to inject CO2 into your beer bottles.
- Pressurize the Bottles: Open the CO2 valve on the regulator, allowing gas to flow into the bottles. The pressure inside the bottles will cause CO2 to dissolve into the beer.
- Monitor the CO2 Flow: Allow the CO2 to flow into each bottle for about 30 seconds to 1 minute, depending on the size of the bottle and the level of carbonation you desire. You can check the flow using the regulator’s pressure gauge.
- Shake the Bottles: After filling the bottles with CO2, give each one a gentle shake to help the CO2 dissolve into the beer. Be cautious not to shake too vigorously, as this could cause foam to build up and create over-carbonation.
Step 6: Store and Wait for Carbonation
Once you've carbonated the beer, you’ll need to store it for a few days to allow the CO2 to fully dissolve and carbonate the beer.
- Store the Bottles: Store your carbonated beer in a cool, dark place. Depending on the amount of CO2 you injected and the type of beer, it may take anywhere from 24-72 hours for the beer to fully carbonate.
- Test the Carbonation: After a few days, open a bottle to test the carbonation. If it’s not carbonated enough, you can repeat the process with more CO2, but be cautious not to over-carbonate.
Tips for Carbonating Beer in Bottles with CO2
- Don’t Over-Carbonate: It’s easy to go overboard with CO2, which can lead to overly fizzy beer with a harsh mouthfeel. Start with low pressure and gradually increase if needed.
- Use Glass Bottles: Make sure you use strong glass bottles designed to withstand the pressure from carbonation. Regular bottles may not be able to handle the pressure and could break.
- Consistency is Key: Keep the CO2 pressure consistent across all bottles to ensure even carbonation throughout your batch.
- Patience: Give your beer enough time to carbonate and settle before enjoying it. You can’t rush carbonation, so take your time for the best results.
Recommended Equipment for Carbonating Beer in Bottles with CO2
Here are some of the best tools and accessories you’ll need to carbonate beer in bottles with CO2:
-
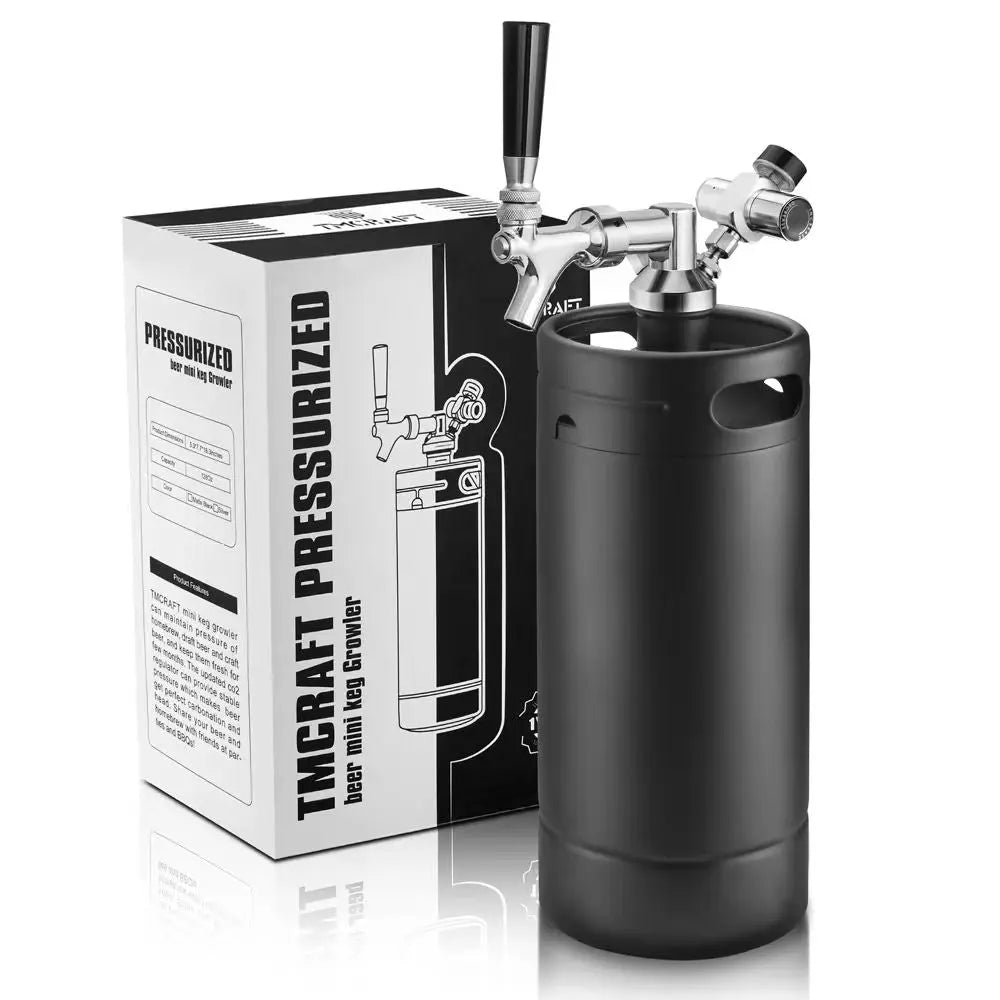
TMCRAFT 5 lb CO2 Tank
- Features: Compact, high-quality CO2 tank. Ideal for homebrewers looking to carbonate beer in bottles or kegs.
- Purchase Link
-
CO2 Carbonation Cap for Bottles
- Features: Perfect for adding CO2 to beer bottles. Includes a secure seal to avoid leaks.
- Purchase Link
-
Blichmann Beer Gun Carbonation Tool
- Features: A great tool for easily carbonating beer. It attaches to your bottles and CO2 tank to quickly carbonate and seal beer.
- Purchase Link
-
TMCRAFT Keg 5 Gallon Ball Lock Keg
- Features: Great for kegging your beer before bottling. The ball lock system makes it easy to use with CO2 systems for carbonation.
- Purchase Link
-
Beer Bottles for Homebrewing (12 oz)
- Features: Strong, durable beer bottles made specifically for carbonation.
- Purchase Link
Conclusion
Carbonating beer in bottles with CO2 is an efficient and controlled way to achieve the perfect level of fizziness. Whether you’re bottling a batch of homebrew or preparing for a party, this method ensures that your beer has the crisp, effervescent bubbles that make it refreshing and enjoyable. By following the steps outlined above and using the recommended equipment, you can carbonate your beer in bottles like a pro.
With a little practice, you'll be able to carbonate beer with precision and consistency, ensuring that every bottle is perfectly carbonated and ready to serve! Cheers to great homebrewed beer with the perfect level of fizz!

