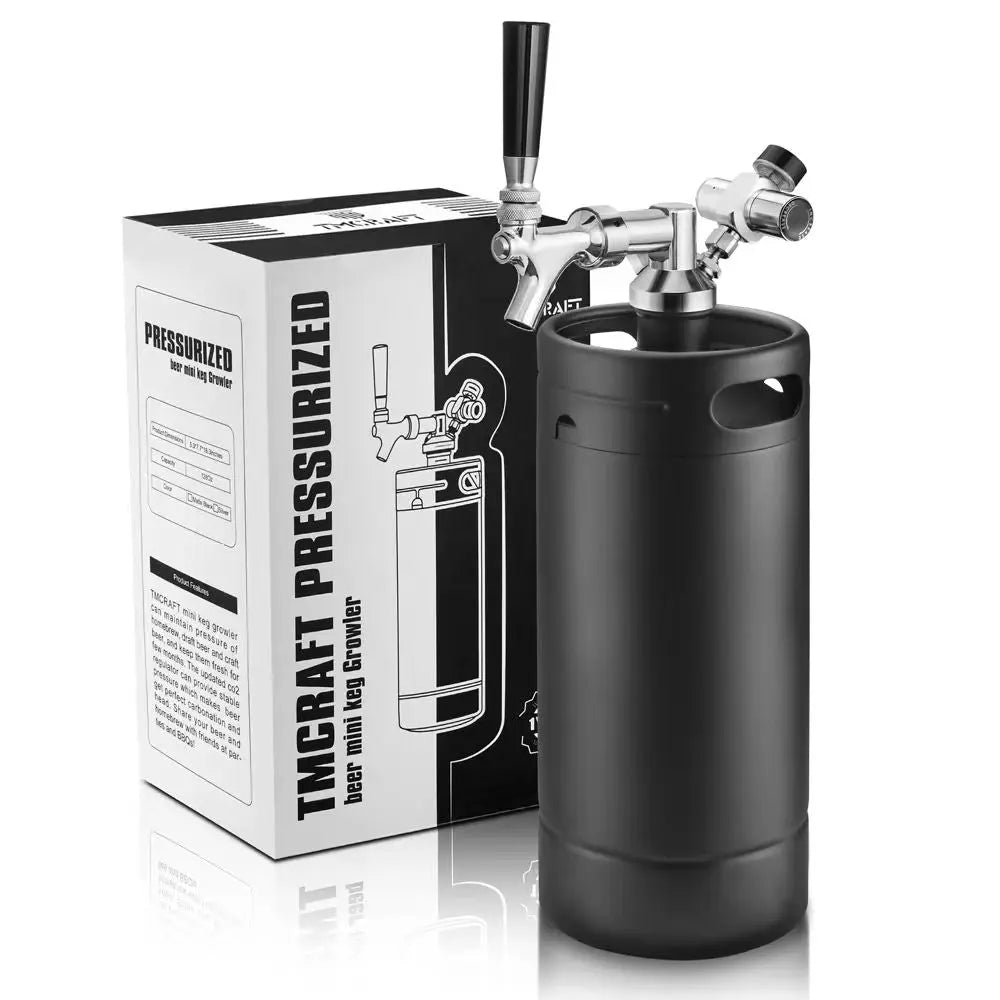


How to Carbonate Beer in a Mini Keg: Easy CO2 Guide for Homebrewers
Primary Keywords:
mini keg, how to carbonate beer in a mini keg, mini keg with CO2 system, stainless steel mini keg
Secondary Keywords:
force carbonation mini keg, portable draft beer keg, homebrew mini keg system, mini keg pressure guide, TMCRAFT mini keg
For homebrewers, carbonation is where beer truly comes to life.
You can brew the perfect recipe, but without proper carbonation, the final pour may feel flat, lifeless, or inconsistent. That’s why more brewers are moving from bottles to a mini keg system—for better control, easier serving, and fresher draft-style beer.
But many beginners ask the same question:
How do you carbonate beer in a mini keg?
The process is actually simple once you understand pressure, temperature, and timing.
In this guide, we’ll explain how to carbonate beer in a mini keg, compare force carbonation vs natural carbonation, and show how a TMCRAFT stainless steel mini keg helps you get better results every time.
Why Carbonation Matters
Carbonation affects far more than bubbles.
It influences:
- Mouthfeel
- Aroma release
- Flavor balance
- Foam retention
- Overall drinking experience
Too little carbonation creates flat beer. Too much can cause excessive foam and harsh pouring problems.
A properly pressurized mini keg helps you find the perfect balance.
What Is a Mini Keg CO2 System?
A mini keg with CO2 system uses pressurized gas to carbonate and dispense beer.
Main components include:
- Stainless steel mini keg
- CO2 cartridge or gas tank
- Pressure regulator
- Dispensing tap
- Sealed lid system
This setup gives you much better control than bottle conditioning and allows fresh draft beer at home.
Two Main Ways to Carbonate Beer in a Mini Keg
There are two common methods:
Force Carbonation
Using external CO2 pressure
Natural Carbonation
Using residual yeast and priming sugar
Both methods work, but most homebrewers prefer force carbonation for convenience and precision.
Method 1: Force Carbonation (Most Popular)
Force carbonation uses CO2 gas to dissolve carbonation directly into cold beer.
Step 1: Transfer Beer Into the Mini Keg
After fermentation:
- Clean and sanitize the keg
- Transfer beer carefully
- Minimize splashing to reduce oxygen exposure
- Seal the keg tightly
Good sanitation protects flavor and shelf life.
Step 2: Chill the Beer
Cold beer absorbs CO2 much better than warm beer.
Best temperature:
- 34°F to 40°F (1°C to 4°C)
Always chill before carbonation.
Step 3: Connect the CO2 System
Attach:
- CO2 cartridge or tank
- Pressure regulator
- Gas connection
Check all seals to prevent leaks.
A stainless steel mini keg with reliable sealing performs much better here.
Step 4: Set the Correct Pressure
Most beer styles carbonate well between:
- 10–15 PSI for serving
- 20–30 PSI for faster force carbonation
Pressure depends on:
- Beer style
- Desired carbonation level
- Temperature
Higher pressure speeds up carbonation.
Step 5: Wait for Carbonation
Two common approaches:
Slow Method (Best Flavor)
- Set at serving pressure
- Wait 3–5 days
This creates stable carbonation with lower risk of overcarbonation.
Fast Method
- Higher pressure for 24–48 hours
- Then reduce to serving PSI
Faster, but requires closer monitoring.
Step 6: Test and Adjust
Pour a sample.
If beer feels:
Too Flat
Increase pressure slightly and wait longer.
Too Foamy
Reduce pressure and allow system to stabilize.
Small adjustments create the best results.
Method 2: Natural Carbonation
Some brewers prefer natural carbonation using priming sugar.
How It Works
Before sealing the keg:
- Add measured priming sugar
- Residual yeast creates CO2 naturally
This method works similarly to bottle conditioning.
Benefits
- No immediate CO2 needed
- Traditional brewing method
- Lower equipment cost
Limitations
- Less precise control
- Longer wait time
- Sediment may remain in keg
For beginners, force carbonation is usually easier.
Common Carbonation Problems
Problem 1: Flat Beer
Causes:
- Low pressure
- Warm keg
- Gas leak
- Not enough carbonation time
Fix:
Check seals, lower temperature, and allow more time.
Problem 2: Too Much Foam
Causes:
- Overcarbonation
- Warm beer
- Pressure too high
Fix:
Reduce PSI and fully chill keg.
Problem 3: Pressure Loss
Causes:
- Worn O-rings
- Loose lid
- Poor gas connection
Fix:
Inspect seals and perform leak test.
Problem 4: Inconsistent Pouring
Causes:
- Dirty tap
- Unstable pressure
- Partial faucet opening
Fix:
Clean system and open faucet fully.
Why Stainless Steel Mini Kegs Work Better
A stainless steel mini keg improves carbonation performance significantly.
Better Pressure Retention
Strong sealing protects CO2 levels.
Flavor Neutral
No taste transfer or odor absorption.
Easy Cleaning
Supports proper sanitation.
Long-Term Durability
Built for repeated pressure cycles.
This makes it ideal for homebrew beer.
Why Choose TMCRAFT Mini Kegs?
TMCRAFT mini kegs are designed for real brewing performance.
Benefits include:
- Food-grade stainless steel construction
- Multiple size options
- Double-walled models available
- Leak-resistant sealing system
- Compatible with CO2 dispensing systems
- Ideal for homebrew, cocktails, and more
Whether you are carbonating your first batch or improving your advanced setup, TMCRAFT offers reliable results.
Best Beer Styles for Mini Keg Carbonation
A portable mini keg works especially well for:
- IPA
- Pale Ale
- Lager
- Stout
- Wheat Beer
- Cider
- Hard Seltzer
It also works for sparkling water and mixed beverages.
Final Verdict
Learning how to carbonate beer in a mini keg gives homebrewers better control, better freshness, and a true draft-style experience at home.
Force carbonation is the easiest and most reliable method for most users, while natural carbonation remains a good traditional option.
With a durable TMCRAFT mini keg, you can enjoy fresher beer, smoother pours, and better brewing results from every batch.
Link to: How to Choose the Best Mini Keg for Homebrew: Size, Material and Pressure Guide