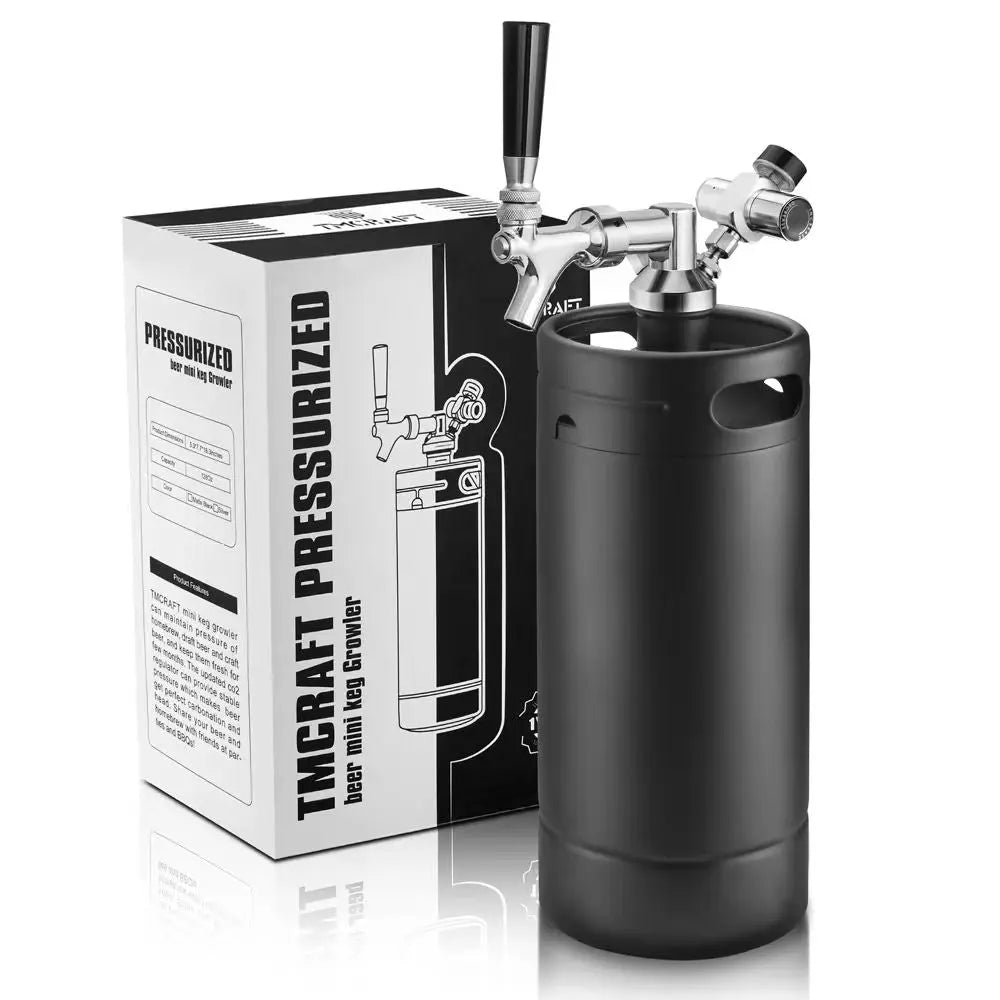
From Brew Day to Tap: Streamlining Your Setup with a Ball Lock Keg
 Focus Keywords: Ball Lock Keg, Kegging Process, Homebrewing Equipment, TMCRAFT Ball Lock Kegs
Every homebrewer knows the satisfaction of a successful brew day. But what happens after fermentation can make or break your final product. That’s where the ball lock keg comes in—a reliable, efficient solution for storing, carbonating, and serving your craft beer. If you’re ready to streamline your homebrewing process from fermentation to the perfect pour, this blog will show you how TMCRAFT Ball Lock Kegs make it simple, clean, and professional.
What Is a Ball Lock Keg?
A ball lock keg is a type of Cornelius keg originally used in the soda industry, but now a favorite among homebrewers. It features two quick-connect posts—one for gas (CO₂) and one for liquid—secured with ball lock mechanisms. These kegs are designed for ease of use, durability, and optimal beer freshness, making them an essential part of any homebrewing equipment setup.
Why Ball Lock Kegs Are a Homebrewer’s Best Friend
1. Faster and Cleaner Than Bottling
Instead of sanitizing dozens of bottles and hoping for even carbonation, you simply siphon your beer into a sanitized ball lock keg and seal it. No caps, no mess.
2. Consistent Carbonation
Using a CO₂ system, you can control carbonation levels with precision. Whether you prefer light fizz or a full-bodied sparkle, ball lock kegs give you the power to perfect your pour.
3. Less Oxidation = Fresher Beer
Since the keg is sealed and pressurized quickly, there's minimal exposure to oxygen—one of the main causes of stale or off-flavored beer.
4. On-Tap Convenience
Skip the bottle caps and reach straight for the tap. Ball lock kegs are compatible with a variety of kegging systems and taps, letting you serve your beer just like a pro.
The Kegging Process with a Ball Lock Keg: Step-by-Step
-
Sanitize the Keg
As with all brewing equipment, cleanliness is key. Use a no-rinse sanitizer to clean your keg and all its components. -
Transfer the Beer
After primary fermentation, use an auto-siphon or transfer line to move your beer into the keg while minimizing oxygen exposure. -
Seal and Pressurize
Attach the gas line to the CO₂ post. Apply 10–30 PSI of pressure depending on your desired carbonation level. Chill the keg for 24–48 hours. -
Test and Adjust
Use your tap system to pour a test sample. If the carbonation isn’t quite right, tweak the pressure accordingly. -
Serve and Enjoy
Once properly carbonated, your beer is ready to be poured fresh, pint after pint.
Why Choose TMCRAFT Ball Lock Kegs?
TMCRAFT Ball Lock Kegs are crafted with premium stainless steel, built to last through batch after batch of homebrew. They offer:
- Durable construction with easy-clean surfaces
- Reliable seals and quick-disconnect ball lock posts
- Sizes to fit any brewing setup, from small-batch to commercial
- Compatibility with standard kegging systems and CO₂ regulators
Designed for both beginners and experienced brewers, TMCRAFT kegs make it easy to go from brew day to tap with confidence.
Final Thoughts
If you want to streamline your homebrewing process, reduce waste, and enjoy bar-quality beer at home, a ball lock keg is a must-have. And when it comes to choosing the right equipment, TMCRAFT Ball Lock Kegs deliver performance, reliability, and convenience—all in one sleek stainless steel package.

