
DIY Nitro Cold Brew Kegerator: Brew Like a Pro at Home
 There's something magical about nitro cold brew coffee—the smooth, creamy texture combined with the rich, bold flavor is a treat for any coffee lover. But you don’t need to go to a fancy café or coffee shop to enjoy this velvety, nitrogen-infused delight. You can easily make your own DIY nitro cold brew kegerator at home and take your coffee experience to the next level.
In this blog, we’ll break down everything you need to know about creating your own nitro cold brew kegerator, including the equipment, step-by-step instructions, and the benefits of brewing nitro cold brew at home.
What is Nitro Cold Brew Coffee?
Before diving into the DIY process, let’s quickly explain what nitro cold brew coffee is and why it’s become so popular:
- Cold Brew: Cold brew coffee is made by steeping coarsely ground coffee in cold water for 12-24 hours. This method extracts a smoother, less acidic flavor compared to hot brewing methods.
- Nitrogen Infusion: Nitro cold brew is simply cold brew coffee infused with nitrogen gas (N2). This infusion creates a creamy texture and a smooth mouthfeel, along with a frothy head, much like a draft beer.
Benefits of Nitro Cold Brew
- Smooth, Velvety Texture: The nitrogen creates small bubbles that give the coffee a smooth, almost creamy consistency, without the need for dairy.
- Less Acidity: Cold brew coffee already has lower acidity than hot-brewed coffee, and the nitrogen infusion further smooths out any sharp flavors.
- Refreshing: The smooth, creamy texture makes nitro cold brew incredibly refreshing, especially on a hot day.
- Sustainability: Making your own nitro cold brew at home reduces your reliance on single-use coffee cups and plastic bottles from coffee shops.
Now that you know the benefits, let's dive into how you can make your own nitro cold brew at home.
How to Make Your Own DIY Nitro Cold Brew Kegerator
Creating your own nitro cold brew kegerator might seem intimidating at first, but it's actually a very rewarding project. By the end of this DIY process, you'll be able to enjoy nitro cold brew anytime you want, right from the comfort of your home.
Step 1: Gather the Equipment
To make nitro cold brew at home, you'll need the following:
-
Cold Brew Coffee: First, you'll need to make cold brew coffee. You can either make your own by steeping ground coffee in cold water for 12-24 hours, or purchase pre-made cold brew concentrate from a store. If you’re making it yourself, here’s a simple ratio:
- 1 cup of coarsely ground coffee
- 4 cups of cold water Let it steep in the fridge for 12-24 hours, then strain out the grounds.
-
Nitro Coffee Keg: You’ll need a keg that is designed for holding cold brew coffee and nitrogen infusion. This will often be a nitro coffee keg or a ball lock keg if you're using a kegging system.
- You’ll also need a keg lid with a gas post to attach the nitrogen.
-
Nitrogen Gas Tank: Unlike CO2 used for carbonating beer, you’ll need nitrogen gas (N2) to infuse the cold brew coffee. Nitrogen gives the cold brew its signature smooth, creamy texture without adding any carbonation.
-
Regulator: A nitrogen regulator will help you control the amount of nitrogen being released into the keg and ensure a consistent flow.
-
Beer Tap / Dispenser: A draft beer faucet (with stout faucet or creamer faucet) is ideal for serving nitro cold brew, as it creates the thick foam typical of nitro drinks.
-
Beer Line: You’ll need a beer line to connect the keg to the faucet. The beer line helps maintain the pressure and flow of your nitro cold brew.
Step 2: Set Up the Kegerator
Now that you have all the equipment, it’s time to assemble your DIY nitro cold brew kegerator.
-
Prepare the Keg: Sanitize the keg thoroughly before use. Make sure there is no residual coffee or contaminants from previous uses. You’ll also want to sanitize the gas line, faucet, and beer line.
-
Fill the Keg with Cold Brew: Pour your freshly brewed cold brew coffee into the keg, leaving some space at the top to allow for nitrogen infusion.
-
Connect the Nitrogen Tank: Attach your nitrogen gas tank to the gas post on the keg, and ensure the regulator is securely attached to the nitrogen tank.
-
Set the Pressure: Adjust the regulator to the appropriate pressure—typically, 30-40 PSI is ideal for creating a smooth, creamy nitro texture. Higher pressure can create a smoother and creamier result, but you don’t want to over-carbonate the coffee.
-
Infuse the Coffee with Nitrogen: Shake the keg gently for a few minutes to ensure the nitrogen fully infuses the cold brew coffee. You can also leave the keg overnight at pressure for a more gradual infusion.
-
Attach the Beer Line and Faucet: Connect the beer line to the liquid post on the keg, and attach your stout faucet or creamer faucet to the other end. The faucet is key to achieving the iconic nitro foam on your cold brew.
Step 3: Serve and Enjoy
Once your nitro cold brew has been infused with nitrogen, you’re ready to serve! Simply pour the cold brew through the stout faucet, and watch as the creamy, frothy head forms on top of your glass. The texture should be smooth and velvety, with a slight creaminess that’s characteristic of nitro beverages.
Tips for Perfect Nitro Cold Brew at Home
- Quality Coffee Matters: Start with high-quality, freshly ground coffee beans for your cold brew. The better the coffee, the better the final product.
- Adjust Nitrogen Pressure: Experiment with the nitrogen pressure to find your ideal level of foam and smoothness. Too much pressure can lead to excessive foam, while too little may make it less creamy.
- Keep It Cold: Nitro cold brew tastes best when served cold. Keep your keg in the refrigerator or a kegerator to ensure it stays chilled.
- Use a Stout Faucet: A stout faucet is ideal for pouring nitro cold brew because it creates the thick, creamy head that gives nitro coffee its signature look and texture.
Recommended Nitro Coffee Keg Systems
If you’re looking to build your own DIY nitro cold brew kegerator, here are a few recommended nitro coffee keg systems:
-
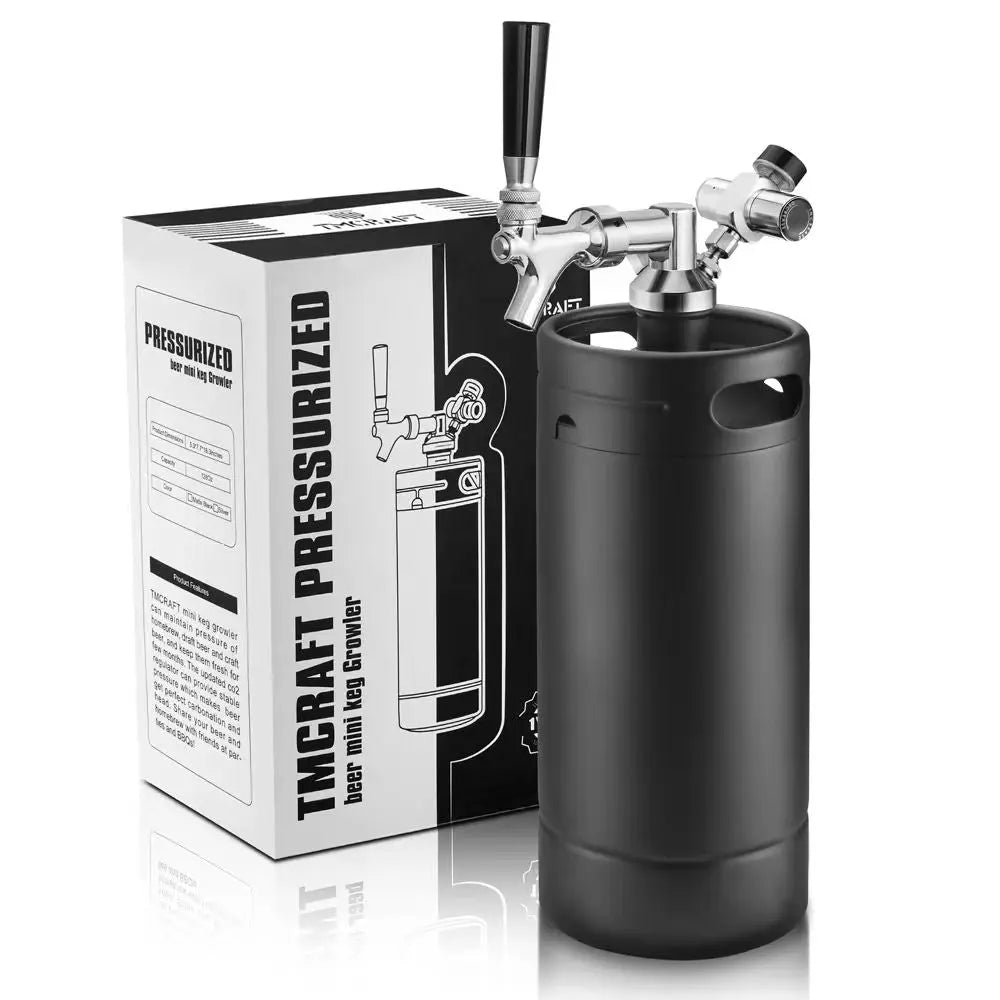
TMCRAFT 128oz Nitro Coffee Keg
- Features: Stainless steel construction, compatible with nitrogen gas, perfect for homebrewers.
- Purchase Link: TMCRAFT 128oz Nitro Coffee Keg
-
Kegco 5-Gallon Nitrogen Infused Keg
- Features: High-quality keg, ideal for homebrew nitro coffee, includes liquid post and gas post.
- Purchase Link: Kegco 5-Gallon Nitro Keg
-
KegLand 5-Gallon Nitro Cold Brew Keg
- Features: Durable build, pressure relief valve, designed for nitro cold brew coffee.
- Purchase Link: KegLand 5-Gallon Nitro Keg
-
Brewmaster 2.5-Gallon Nitro Cold Brew Keg
- Features: Compact, easy to use, perfect for small batches of nitro coffee.
- Purchase Link: Brewmaster 2.5-Gallon Keg
-
AIO 3-Gallon Nitro Cold Brew Keg
- Features: Great for experimenting with different nitro cold brew recipes, easy to store.
- Purchase Link: AIO 3-Gallon Keg
Conclusion
Making your own nitro cold brew at home with a DIY kegerator system is a fun and rewarding way to enjoy a cafe-quality drink in the comfort of your own space. By setting up a nitrogen infusion system, you can easily create smooth, creamy cold brew coffee with that signature frothy texture. Whether you're a seasoned homebrewer or just a coffee enthusiast, this DIY project will elevate your coffee game and save you money in the long run. Cheers to better coffee at home!