
Craft Beer On Tap: Mastering Your Ball Lock Keg for Perfect Dispensing
 Keywords: Ball Lock Keg, Kegging System, CO₂ System, Homebrewing Equipment, TMCRAFT Ball Lock Kegs
If you want draft-fresh beer at home—consistent carbonation, clean pours, and far less bottling hassle—ball lock kegs are the workhorse you need. This guide walks you through everything from why ball lock kegs are so popular to the practical setup, carbonation and serving tips, maintenance, and quick troubleshooting so every pour tastes like it came from a pro taproom.
What is a Ball Lock Keg (and why brewers love them)
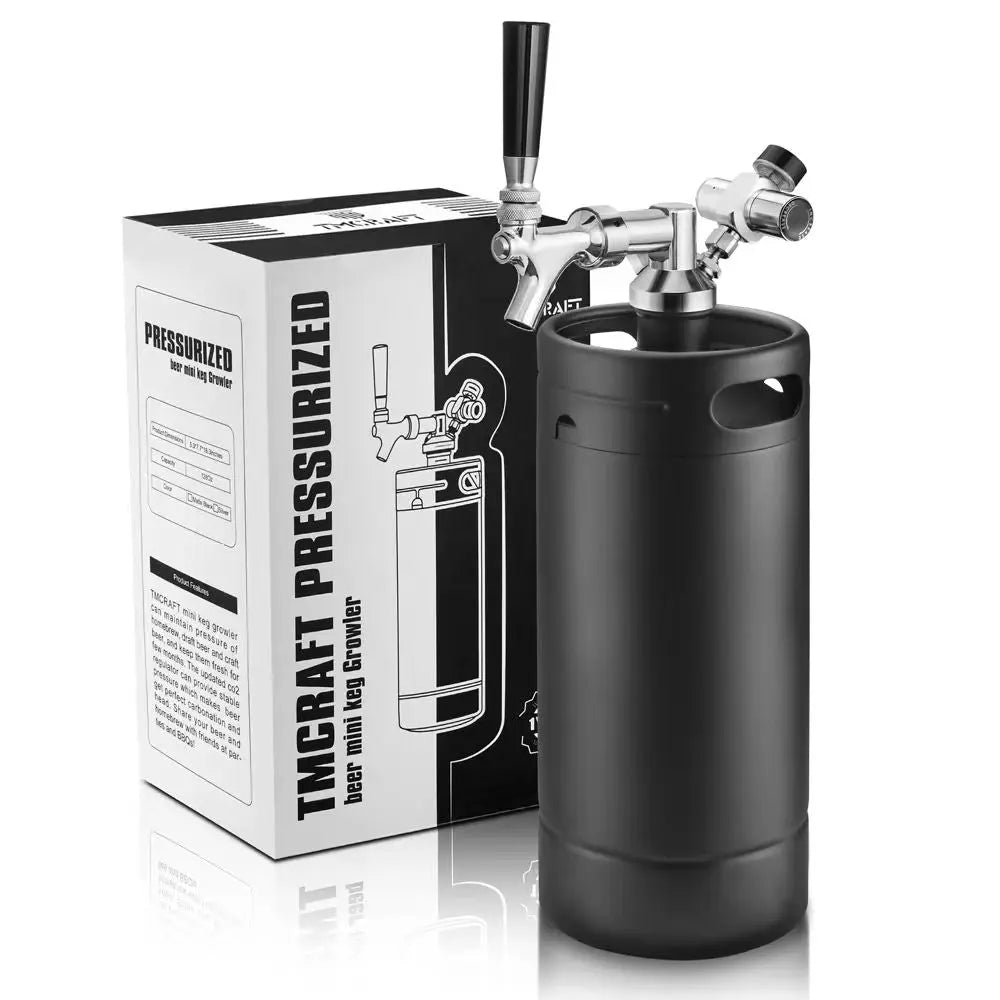
A ball lock keg is a stainless-steel keg that uses quick-connect (ball-type) posts for gas (CO₂) and liquid (beer). Originally used in the soda industry, their quick-disconnect simplicity, standardized parts, and compact shape made them a favorite for homebrewers.
Big perks:
- Fast, clean connections for gas and liquid
- Easy to disassemble and sanitize
- Compatible with common homebrew regulators and fittings
- Sized perfectly for typical homebrew batches (2.5–5 gal)
The core components of your kegging system
A proper kegging system does more than hold beer—it keeps it fresh and pours perfectly. Key parts:
- Ball lock keg (304 stainless) — pressure-rated, durable body
- CO₂ tank + regulator — controls carbonation and serving pressure
- Ball lock disconnects (gas & liquid) — quick connects to keg posts
- Beer lines & faucet — transfer and dispense the beer
- Pressure relief valve (PRV) — safety and controlled venting
TMCRAFT Ball Lock Kegs pair well with standard regulators and fittings, making upgrades and repairs straightforward.
Step-by-step setup: from fermenter to keg
- Sanitize everything. Keg, lid, dip tubes, disconnects and lines. Cleanliness = quality.
- Cold crash your fermenter 24–48 hours before transfer to drop yeast and trub.
- Closed transfer is ideal: push beer from fermenter to keg with CO₂ at 2–5 PSI to avoid oxygen pickup.
- Seat the lid: lightly pressurize (20–30 PSI) to seat the lid, then set your carbonation method.
- Carbonate: choose a method (below), then set serving pressure and chill.
Carbonation methods: set-and-forget vs. burst carb
Set-and-Forget (recommended for consistency)
- Chill beer to ~36–40°F (2–4°C)
- Set regulator to target serving/carbing PSI (common ales ~10–12 PSI)
- Wait 3–7 days for equilibrium
Burst Carbonation (fast)
- Chill keg, set 25–30 PSI for 12–24 hours, then drop to serving PSI
- Good when you need beer quickly; watch for overcarb and vent if necessary
Style targets (approx. at 38°F):
- English Ale: ~1.6–1.8 volumes → ~6–8 PSI
- American Ale / Lager: ~2.3–2.5 volumes → ~10–12 PSI
- Wheat / Belgian: ~2.6–3.0 volumes → ~12–16 PSI
Serving: how to pour the perfect pint
- Serving pressure: 8–12 PSI for most beers (adjust by style & line setup).
- Line length: For portable/fridge setups, 5–8 ft of 3/16" ID tubing is a good starting point at ~10 PSI. Increase length for lower PSI or decrease for faster flow.
- Temperature: Keep keg, lines and glass cold—warm beer foams.
- Pour technique: Tilt glass at 45°, open tap fully, then straighten the glass near the end for a 1/2–1" head.
Maintenance: keep your system tasting great
- After each keg: Warm rinse, circulate cleaner through lines & faucet, rinse, sanitize.
- Weekly/Monthly: Deep clean posts, poppets, dip tubes and O-rings. Replace O-rings as they wear.
- Storage: Store kegs dry with lid off; keep CO₂ tank secured and away from heat.
Regular maintenance prevents off-flavors and foaming problems—simple care, big payoff.
Quick troubleshooting (fast fixes)
- Keg won’t hold pressure: Check O-rings and lid gasket; spray soapy water on fittings to find leaks.
- Foamy pours: Beer too warm, serving PSI too high, or line too short—chill and adjust PSI/line length.
- Flat beer: Low PSI or CO₂ tank low; also check for leaks or temperature too warm.
- Slow/no flow: Check for kinked lines, closed valve, clogged dip tube or empty CO₂ tank.
Pro tips for better pours & longer freshness
- Use closed transfers to minimize oxygen exposure.
- Keep a spare set of O-rings and a small keg lube in your kit.
- If experimenting, split a batch into two kegs and test different carbonation levels or dry hops.
- Label kegs with beer style & date—rotate and track tasting notes.
Why TMCRAFT Ball Lock Kegs are a great choice
TMCRAFT Ball Lock Kegs are built with homebrewers in mind: robust 304 stainless, reliable posts and poppets, precision seals, and easy-service components. That means fewer leaks, simpler maintenance, and consistent performance batch after batch—exactly what you want from your homebrewing equipment.
Final pour: build a system that works for you
Mastering a ball lock kegging system is one of the best upgrades a homebrewer can make—less bottling, more control, and pro-quality pours at home. Start with a solid TMCRAFT Ball Lock Keg, pair it with a reliable CO₂ regulator, get comfortable with closed transfers and carbonation charts, and you’ll be pouring draft-fresh pints with confidence.
Want a printable checklist with PSI targets, line lengths, and a monthly maintenance schedule tailored to your keg size? I can create one for your setup.