
Carbonate Beer with a Ball Lock Keg and Transfer to Bottles for Storage: A Step-by-Step Guide
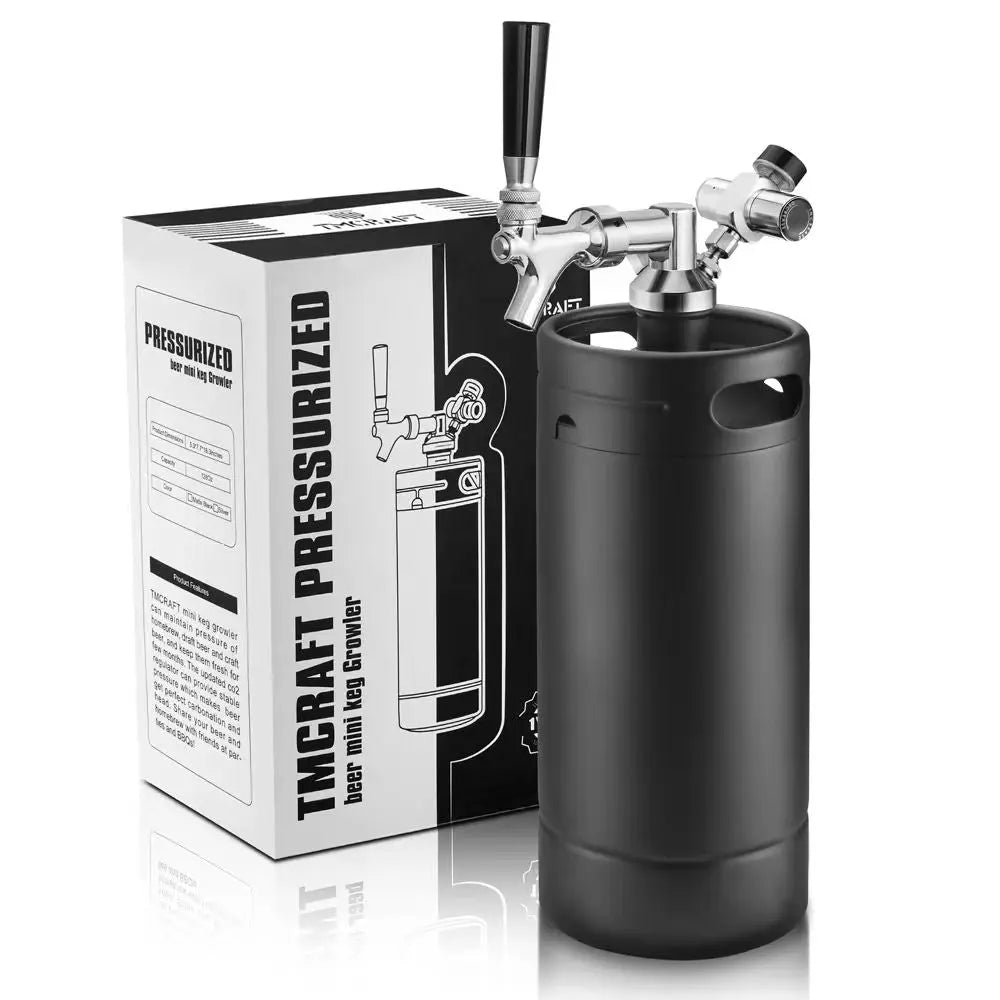
![]() When it comes to homebrewing or commercial beer production, proper carbonation and storage are key to ensuring that your beer stays fresh and flavorful. One of the most effective ways to carbonate beer is using a ball lock keg, a must-have tool for both professional and hobbyist brewers. After carbonation, transferring the beer to bottles for storage ensures that your brews remain perfectly carbonated until they're ready to be enjoyed.
When it comes to homebrewing or commercial beer production, proper carbonation and storage are key to ensuring that your beer stays fresh and flavorful. One of the most effective ways to carbonate beer is using a ball lock keg, a must-have tool for both professional and hobbyist brewers. After carbonation, transferring the beer to bottles for storage ensures that your brews remain perfectly carbonated until they're ready to be enjoyed.
In this blog, we’ll walk you through the process of carbonating beer with a ball lock keg and transferring it to bottles for storage, providing you with useful tips, tools, and some recommended ball lock kegs.
Why Use a Ball Lock Keg for Carbonating Beer?
Ball lock kegs are an essential piece of equipment in modern beer brewing for several reasons:
- Efficient Carbonation: Ball lock kegs allow you to force carbonate beer, providing more control over the level of carbonation compared to natural methods.
- Quality Storage: Kegs are perfect for maintaining the beer’s freshness before transferring it to bottles, allowing you to store beer without worrying about exposure to air or contaminants.
- Easy to Use: The intuitive design of ball lock kegs makes it easy to connect to CO2 tanks and dispense beer with ease.
Step-by-Step Guide to Carbonate Beer with a Ball Lock Keg and Transfer to Bottles
Step 1: Prepare Your Ball Lock Keg and Beer
Before you begin carbonating your beer, make sure your ball lock keg is clean and sanitized. Any contaminants in your keg can ruin your beer.
- Sanitize: Use a no-rinse sanitizer to thoroughly clean and sanitize the keg, hoses, and any other equipment that will come in contact with your beer.
- Fill the Keg: Once sanitized, fill your ball lock keg with the fermented beer. Be careful not to overfill it, leaving about 2-3 inches of space at the top for carbonation.
Step 2: Set Up the CO2 System
To carbonate your beer, you'll need a CO2 tank, regulator, and ball lock keg.
- Connect the CO2 Tank: Attach your CO2 tank to the ball lock keg using the gas post. Ensure the regulator is properly set to the recommended PSI for the style of beer you are carbonating (typically around 30 PSI for quick carbonation).
- Attach the Gas Line: Secure the gas line to the gas post on the ball lock keg. Make sure all fittings are tight to prevent leaks.
Step 3: Force Carbonate the Beer
Now it's time to carbonate the beer using the ball lock keg.
- Set the Pressure: Set your regulator to the desired carbonation level (usually 30 PSI for rapid carbonation). Higher pressure will carbonate your beer faster, but it’s important not to exceed 40 PSI to avoid over-carbonating the beer.
- Shake the Keg: Gently shake the keg for 5-10 minutes to force CO2 into the beer. If you're carbonating at lower pressures (around 10-12 PSI), this may take longer, typically 24-48 hours for a full carbonate.
- Test the Carbonation: After the shaking session, test the carbonation by dispensing a small amount of beer. If it’s too flat, increase the pressure and shake again.
Step 4: Transfer the Carbonated Beer to Bottles
Once the beer is carbonated, it’s time to transfer it into bottles. This step is crucial because proper bottling techniques will ensure that your beer remains carbonated and fresh for later consumption.
- Prepare the Bottles: Clean and sanitize all bottles and caps before use. Bottles need to be completely free of any bacteria or mold.
- Attach a Beer Line to the Liquid Post: Connect a beer line from the liquid post of the keg to the bottle filler or bottle tap. This will allow you to transfer the beer smoothly from the keg to the bottle without excessive foam.
- Fill the Bottles: Fill each bottle with beer, making sure to leave about 1-2 inches of space at the top to allow for expansion during storage.
- Cap the Bottles: Once the bottles are filled, cap them tightly to prevent CO2 from escaping and to keep the beer fresh.
Step 5: Store the Bottled Beer
After bottling your beer, it’s important to store it properly so it maintains its carbonation and freshness.
- Storage Conditions: Store your bottles in a cool, dark place to preserve the beer's quality. A temperature between 50-55°F (10-13°C) is ideal for most beers.
- Allow the Beer to Condition: Some beers benefit from a conditioning period, where the flavors continue to develop over a few weeks. This is especially important for higher-alcohol beers or styles like stouts and IPAs.
Tips for the Best Carbonation and Bottling
- Carbonation Time: If you're in a rush, use higher CO2 pressures and shake the keg, but don’t exceed 40 PSI to avoid over-carbonating the beer. For more precise carbonation, you can set the regulator to lower pressure (10-12 PSI) and carbonate the beer over 24-48 hours.
- Avoid Oxygen: Always minimize oxygen exposure during bottling. Oxygen can cause the beer to spoil or develop off-flavors. Use a closed-system for transferring beer to bottles and make sure to use sanitized equipment.
- Bottle Conditioning: For some styles, bottle conditioning can help develop more carbonation naturally. If you prefer this method, add priming sugar before bottling to allow the yeast to create CO2 inside the bottle.
Recommended Ball Lock Kegs for Carbonating Beer
If you're looking to invest in a high-quality ball lock keg for your homebrewing or commercial needs, here are a few great options:
1. TMCRAFT 5-Gallon Ball Lock Keg
- Features: Durable stainless steel, pressure relief valve, easy-to-use gas and liquid posts.
- Best For: Homebrewers and small breweries.
- Purchase Link: TMCRAFT 5-Gallon Ball Lock Keg
2. Kegco 5-Gallon Ball Lock Keg
- Features: Polished stainless steel, long-lasting seals, and high-quality construction.
- Best For: Homebrewers looking for a reliable and affordable keg for carbonation.
- Purchase Link: Kegco 5-Gallon Ball Lock Keg
3. KegLand 5-Gallon Ball Lock Keg
- Features: Excellent build quality, ideal for forced carbonation, and easy to clean.
- Best For: Homebrewers and commercial breweries.
- Purchase Link: KegLand 5-Gallon Ball Lock Keg
4. AIO 3-Gallon Ball Lock Keg
- Features: Compact and efficient for smaller batches, durable, and simple to use.
- Best For: Homebrewers with smaller batches or those brewing experimental beers.
- Purchase Link: AIO 3-Gallon Ball Lock Keg
5. Brewmaster 2-Gallon Ball Lock Keg
- Features: Small, lightweight, and perfect for experimental batches or personal consumption.
- Best For: Those brewing small batches or testing new recipes.
- Purchase Link: Brewmaster 2-Gallon Ball Lock Keg
Conclusion
Carbonating beer with a ball lock keg and transferring it to bottles for storage is a fantastic way to preserve your beer's carbonation and quality. By following the proper steps for carbonation, filling, and storage, you can ensure your beer tastes as fresh and flavorful as the day it was brewed. Whether you're a seasoned brewer or just starting, a good-quality ball lock keg is an essential tool for achieving professional results. Happy brewing!