

Ball Lock Basics: Pressure, Lines & Setup Tips Every New Kegger Should Know
SEO Keywords: Ball Lock Keg, Kegging System, CO₂ System, Homebrewing Equipment, TMCRAFT Ball Lock Kegs
Introduction: Welcome to the World of Kegging
Switching from bottling to kegging is one of the biggest upgrades a homebrewer can make. Bottling takes hours, risks inconsistent carbonation, and creates clutter. A ball lock keg system, on the other hand, gives you:
✔ Faster carbonation
✔ Consistent pours
✔ Better flavor preservation
✔ Easier cleaning
✔ A true draft-beer experience
If you’re new to kegging, this guide will break down everything you need to know—from pressure settings to line balancing to proper maintenance—using the reliability of TMCRAFT Ball Lock Kegs as a foundation.
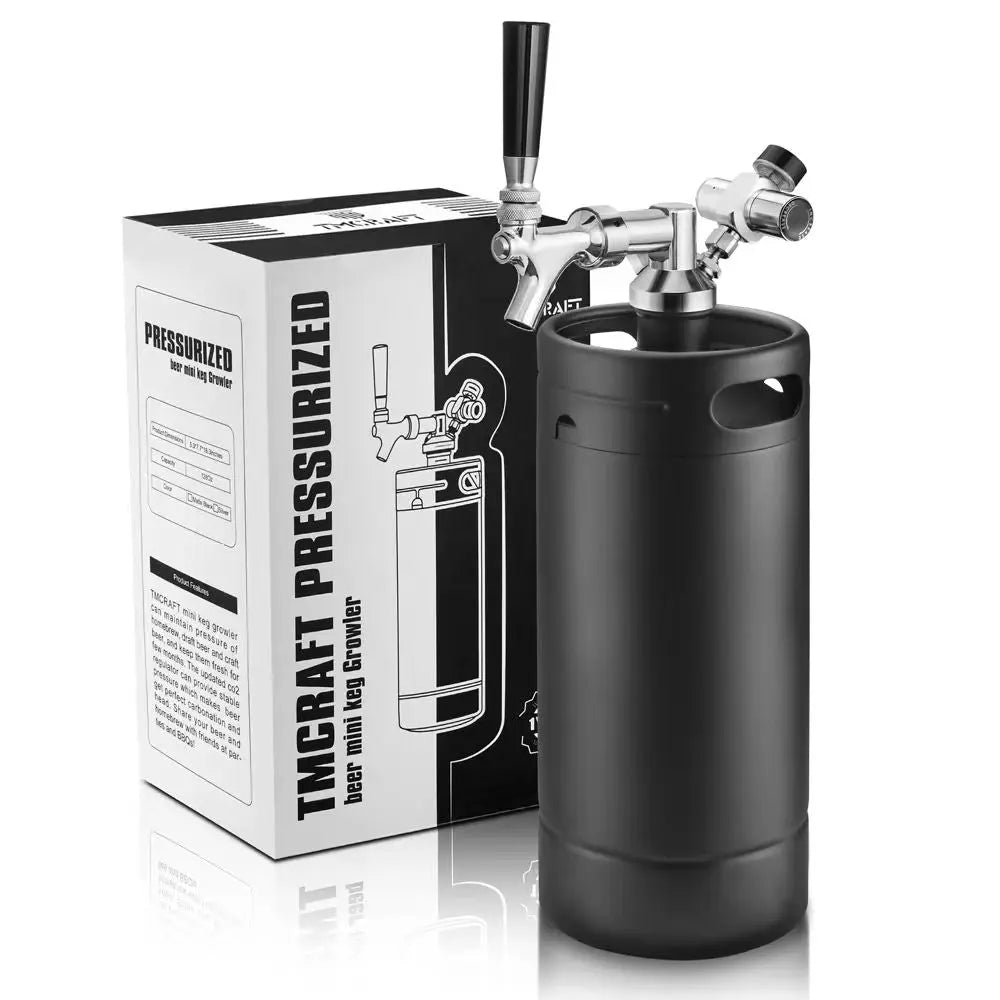
What Is a Ball Lock Keg?
A ball lock keg uses quick-connect posts for gas and liquid. These were originally used in soda bottling and are now beloved by homebrewers for their simplicity, safety, and reliability.
Each keg has two posts:
- Gas Post: Connects to CO₂
- Liquid Post: Connects to the faucet/beer line
Ball lock connectors snap on securely, forming a tight seal that maintains pressure.
How Your CO₂ System Works
Understanding pressure control is the key to perfect pours.
The CO₂ system includes:
✔ CO₂ tank
✔ Regulator
✔ Gas line
✔ Gas post on the keg
The regulator lets you fine-tune the pressure inside the keg. Too high? Foamy pours. Too low? Flat beer.
Best Pressure Settings (Beginner-Friendly Guide)
Carbonation Levels
- Ales: 10–12 PSI
- Lagers: 12–14 PSI
- Nitro-styled pours (not actual nitrogen): 20+ PSI
Serving Pressure
- Generally 8–12 PSI
TMCRAFT ball lock kegs hold pressure extremely well, making it easy to maintain consistent carbonation.
Line Length: The Most Overlooked Factor
Foam issues often come from line imbalance—not the keg itself.
General rule:
Use 5–10 feet of beer line for home draft systems.
Longer lines = smoother pours.
Shorter lines = more foam.
How to Set Up Your Ball Lock Keg (Step-by-Step)
1. Clean and Sanitize
Even new kegs need rinsing to remove manufacturing oils.
2. Purge Oxygen
Fill the keg with CO₂ for a few seconds, vent it, then repeat. Oxygen ruins beer—get it out!
3. Transfer Your Beer
Siphon gently to avoid splashing and oxygen exposure.
4. Seal the Keg
Close the lid and apply 20–30 PSI for a few seconds to lock the seal.
5. Set Carbonation Pressure
Let the keg sit at your desired PSI in the fridge for 2–3 days.
6. Serve and Enjoy
Attach the faucet, adjust serving pressure, and pour fresh draft beer anytime.
Common Beginner Mistakes (And How to Fix Them)
❌ Over-Carbonation
Fix: Release excess pressure, reset to 10 PSI.
❌ Foamy Pours
Fix: Lengthen the beer line or drop serving pressure.
❌ Leaks Around Posts
Fix: Lubricate O-rings; replace damaged seals.
❌ Oxygen Exposure
Fix: Purge before AND after filling the keg.
TMCRAFT ball lock kegs come with precision-machined posts and high-quality O-rings to prevent these issues.
Why TMCRAFT Ball Lock Kegs Are Ideal for New Keggers
- Food-grade stainless steel
- Precise ball lock connectors
- Easy to clean and maintain
- Compatible with most CO₂ systems
- Available in 1.3, 2.5, 5 gallon sizes
- Reliable pressure retention
If you want consistent pours without the learning curve headaches, TMCRAFT is the easiest way to get started.
Final Thoughts
Kegging doesn’t have to be intimidating. With the right pressure, line setup, and maintenance, you’ll enjoy professional-level draft quality at home.
A TMCRAFT Ball Lock Keg makes the transition smooth, reliable, and rewarding.